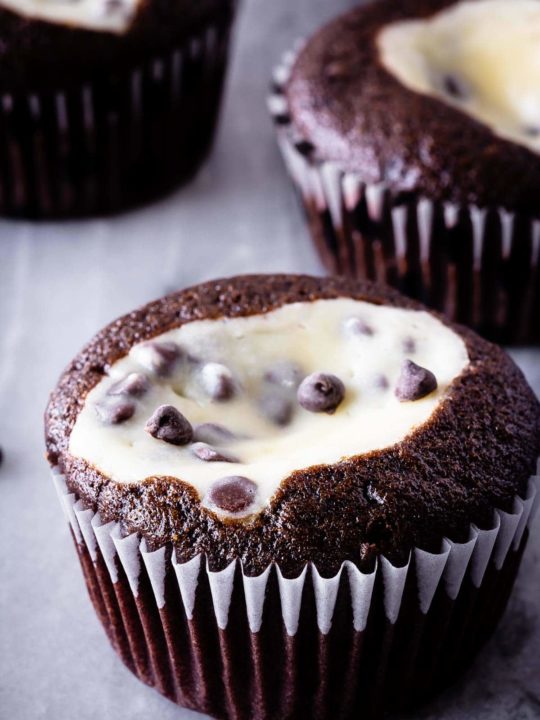
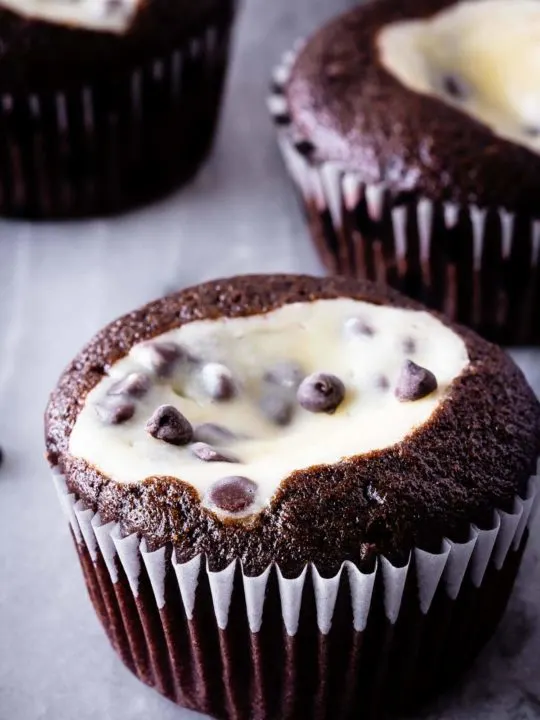
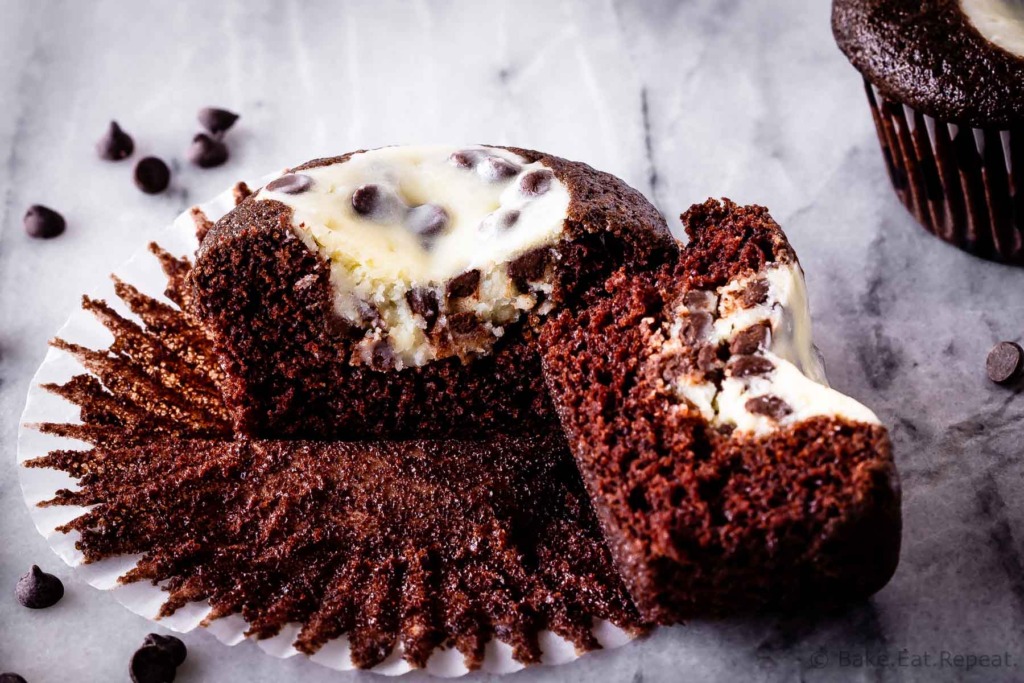
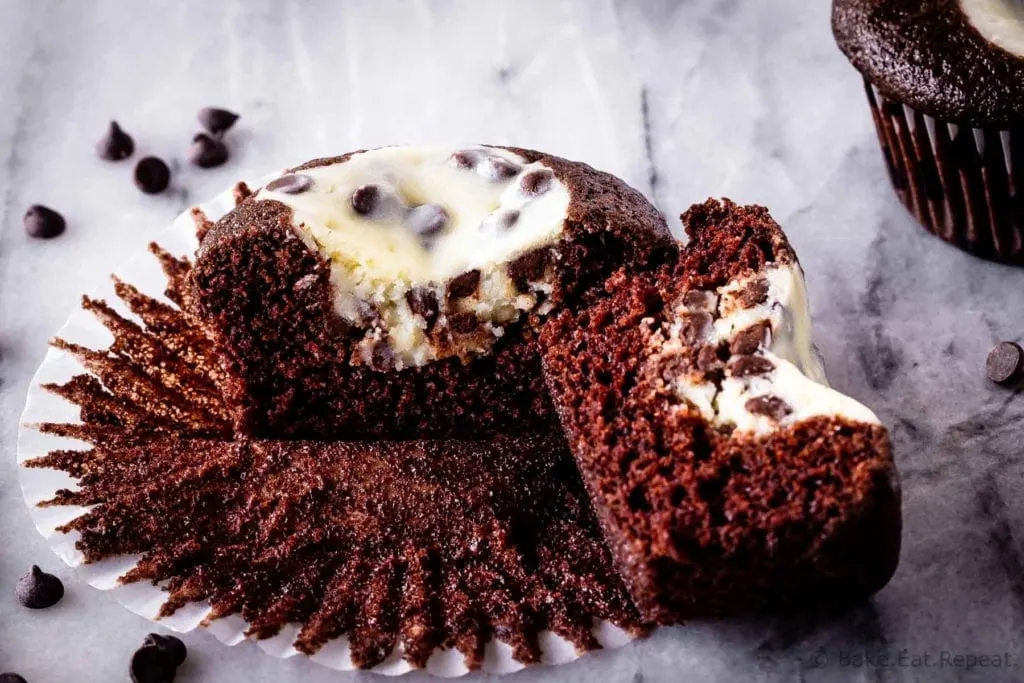
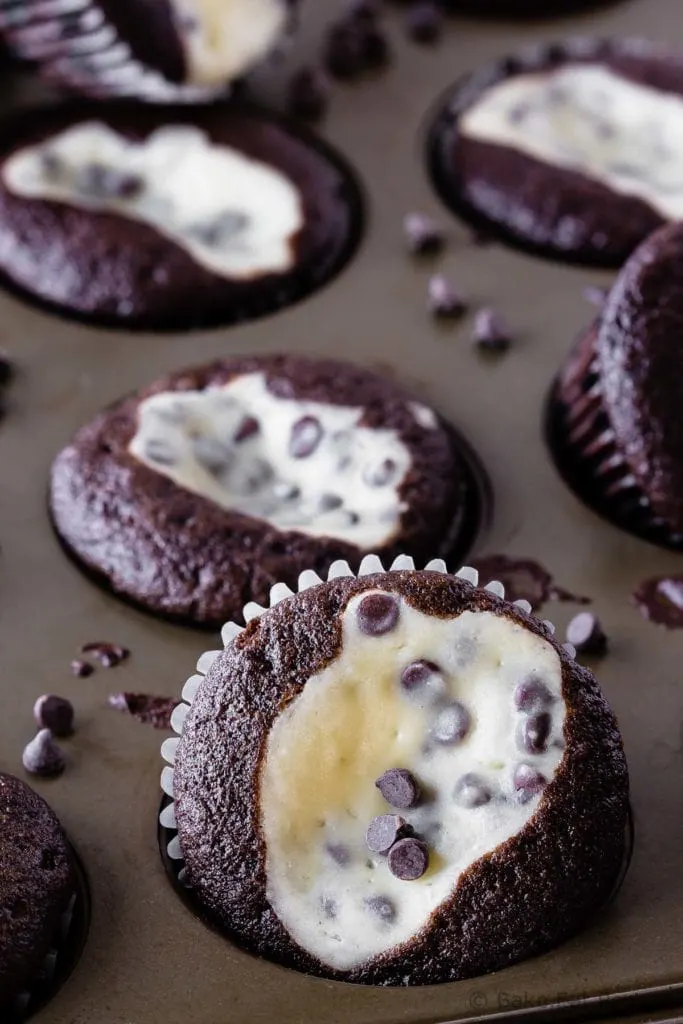
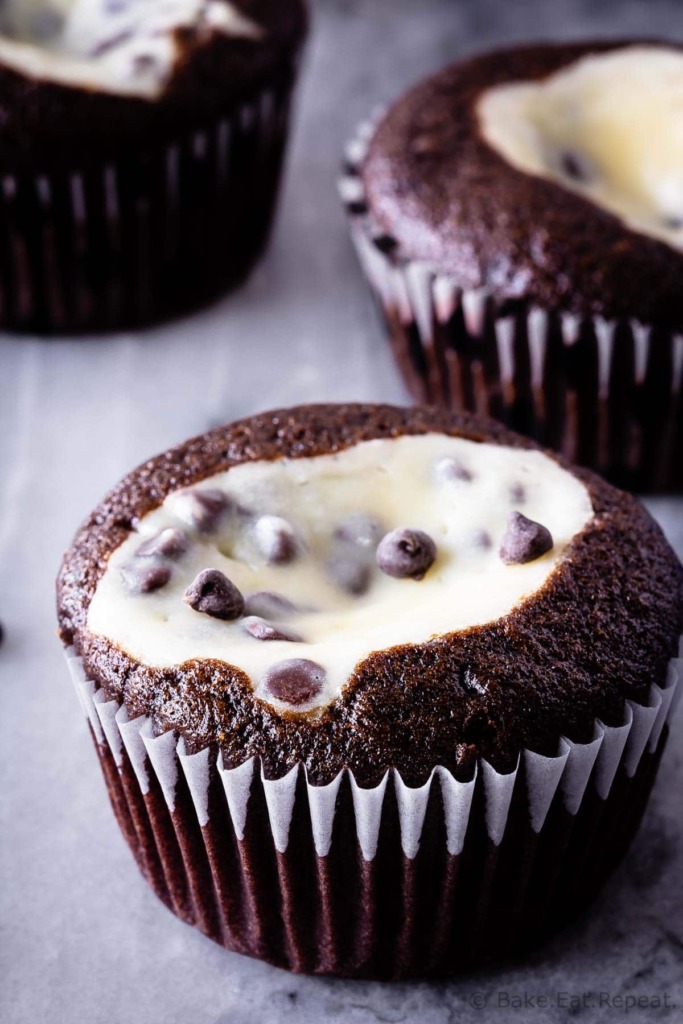
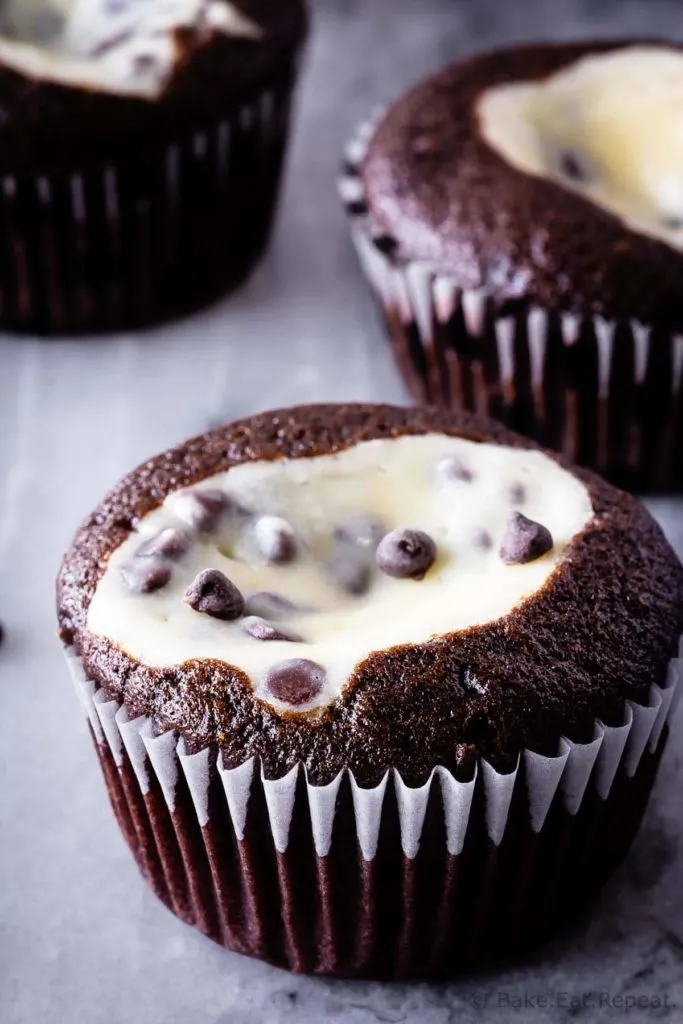
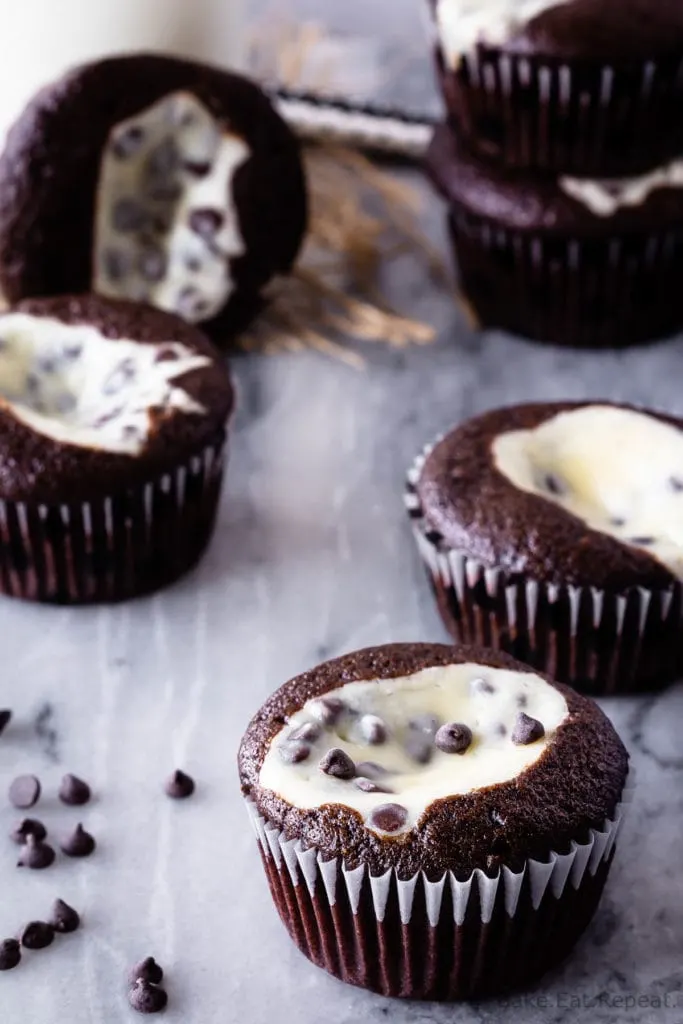
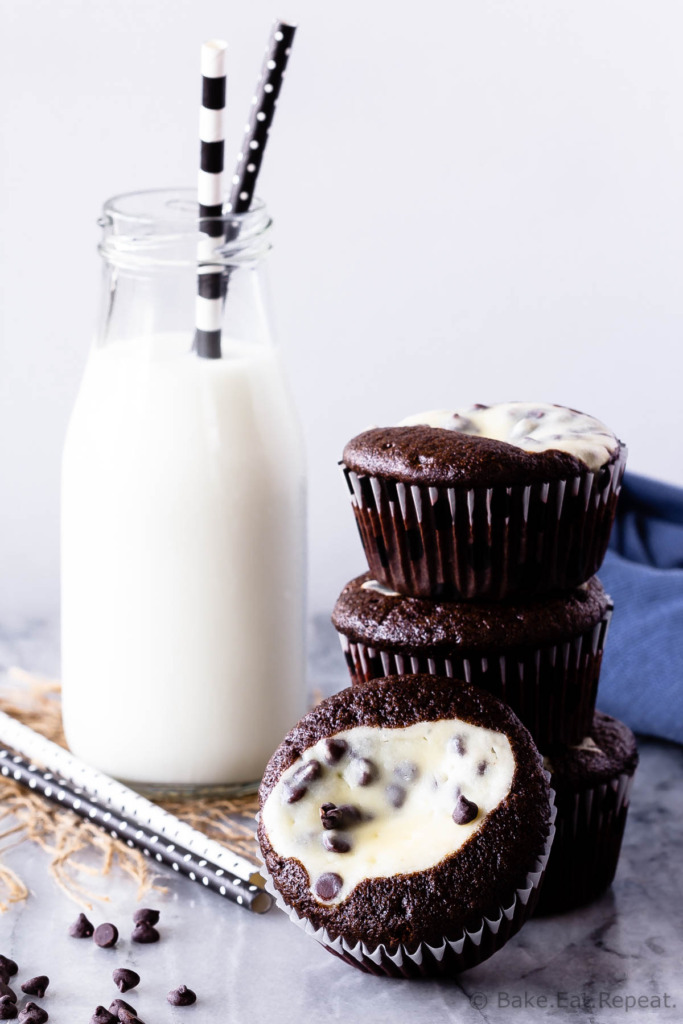
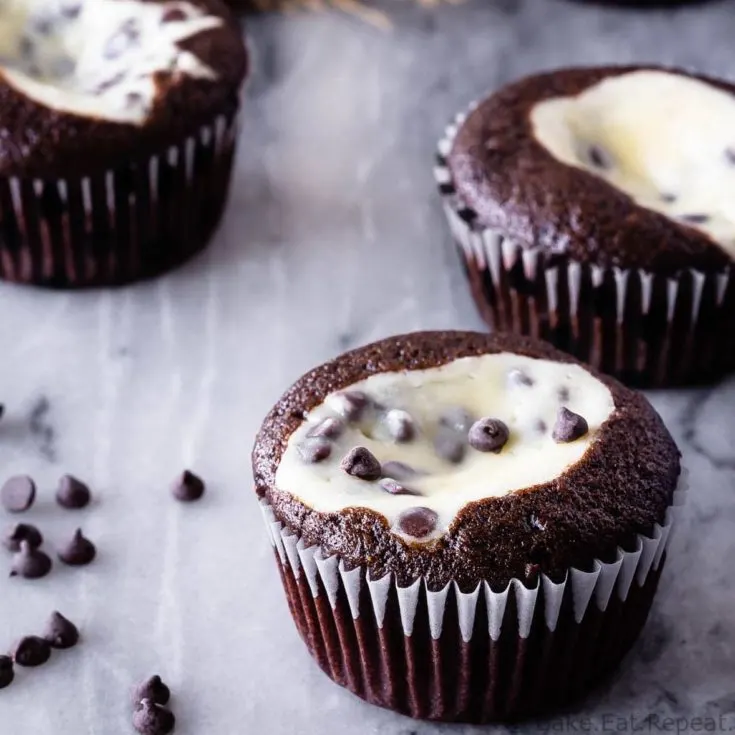
These black bottom cupcakes are amazing – moist chocolate cupcakes with a creamy chocolate chip cheesecake filling! They’re a family favourite here!
Have you ever had black bottom cupcakes? I think most people have. It’s nothing new.
There’s a bajillion recipes floating around for these cupcakes.
I first tried black bottom cupcakes when I was about 14. It was quite possibly the first cupcake I ever had where I genuinely loved it.

Cupcakes typically aren’t my thing. They’re just too sweet.
I like these chocolate covered strawberry cupcakes well enough – but they have whipped cream instead of buttercream frosting and I think that makes the difference. Not nearly as sweet, so I enjoy them.
But black bottom cupcakes fix that little problem because they don’t need frosting.
So I really like them.
Ever since that first taste, I’ve always loved these chocolate cupcakes with a creamy cheesecake filling.
Most recipes for black bottom cupcakes call for less cupcake batter than my recipe does.
After making approximately 92 batches of these cupcakes though, I’ve decided that I like a little more chocolate and a little less cheesecake in each cupcake.
I always find with the traditional recipe for black bottom cupcakes that you either have cheesecake completely covering the cupcake instead of just in the middle of it, or you just don’t use it all because there’s simply too much of it.

So I’ve increased the amount of cupcake batter so the proportions work out a little better.
Because of that, it may be a bit different than black bottom cupcakes you’ve had in the past.
Or, if you’ve never had one, you should probably make these ASAP. Because they are the best cupcakes.

Do chocolate cream cheese cupcakes need to be refrigerated?
Because of the cream cheese filling in these black bottom cupcakes, you will want to refrigerate them.
They’ll be okay at room temperature for a few hours, but I would recommend storing them in an airtight container in the refrigerator after they’ve cooled completely.
Put wax paper between layers of the cupcakes so they don’t stick together.
We actually find that we prefer the taste of these cupcakes when they’re cold anyways so it’s not a problem to store them in the fridge.
How do you cool cupcakes?
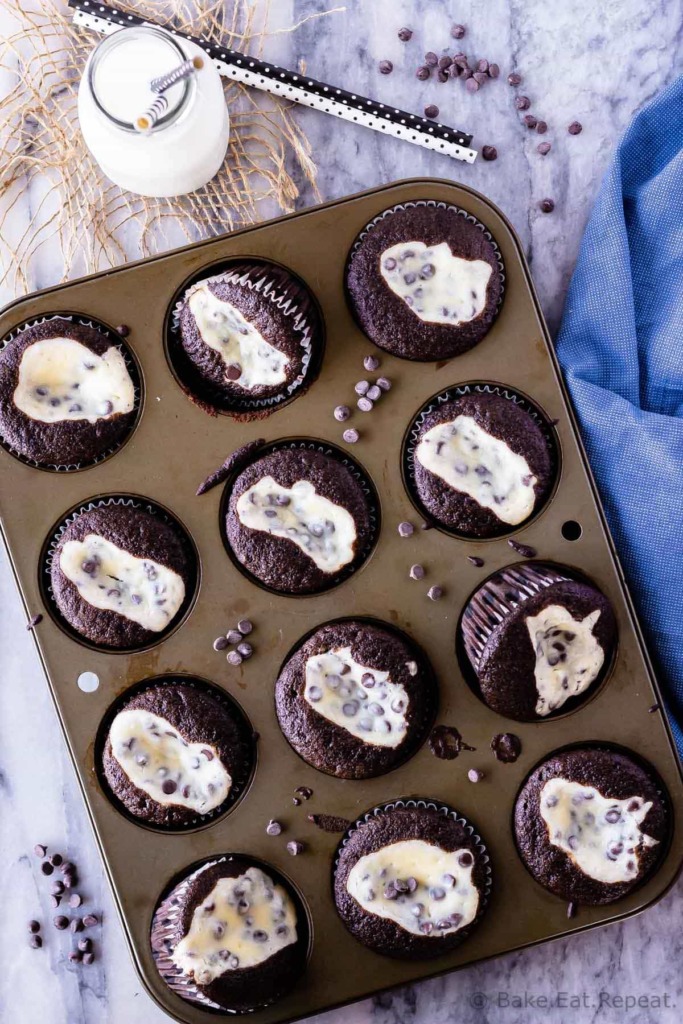
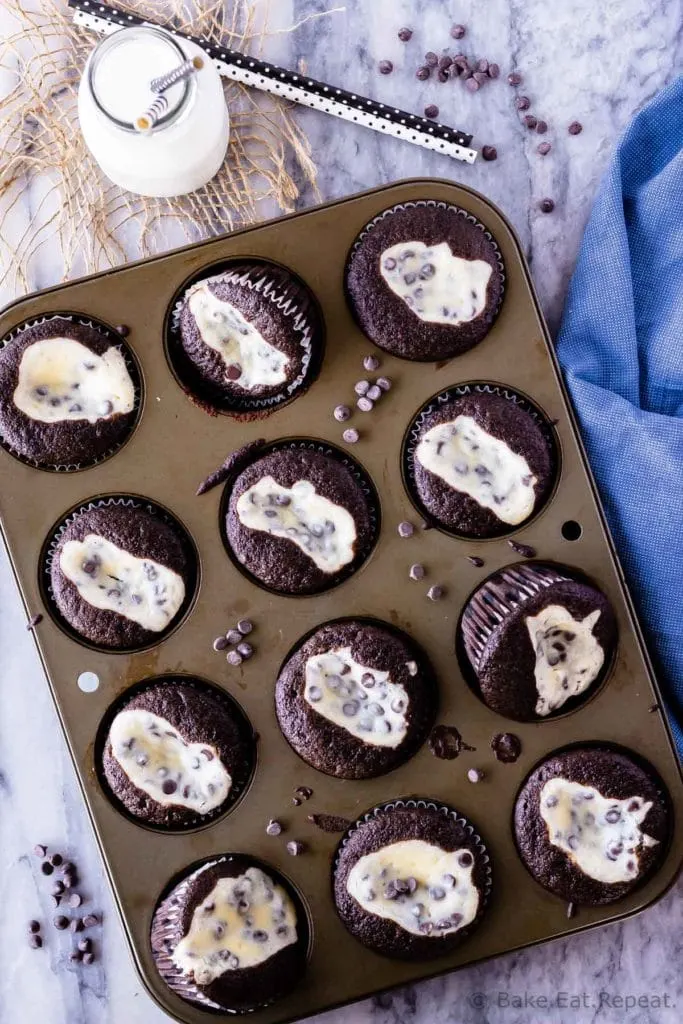
Let the cupcakes cool in the muffin tin for 15 minutes, then gently remove them from the pan and place them on a wire rack to cool completely.
You can also just place the muffin tin on a wire rack and let the cupcakes cool completely in the tin before removing them.
How to make Black Bottom Cupcakes:
- I’ve found the cheesecake filling works best in these cupcakes if you don’t over-mix it. So I mix it up with a spatula instead of with an electric mixer to avoid over-mixing, and then put it in the fridge to firm up while making the cupcake batter. This way it sinks into the middle of the cupcake rather than spreading across the top of it in a thin layer.
- I like to use mini chocolate chips in the cheesecake filling, but you can certainly use regular sized ones instead if you prefer.
- Make sure to bake these cupcakes as soon as you can after mixing up the chocolate batter as the baking soda starts working as soon as you mix it together with the vinegar in the wet ingredients. Don’t fill the muffin tins and then leave them sitting on the counter for a half hour, or you won’t get as much rise in the oven.
- I do recommend using paper liners for these cupcakes, as they will stick a fair bit to the pan otherwise. If you don’t have any, make sure to grease the pan really well. You will also want to let the cupcakes cool completely before trying to peel off the wrappers.
- The cupcake batter for these black bottom cupcakes is the same as Wacky Cake, if you’ve ever had that. No eggs, milk, or butter, but still absolutely delicious!
Here are some more great dessert recipes for you:
- Hot Chocolate Brownies
- Cherry Cheesecake Bars
- Easy Apple Pie
- Raspberry Cheesecake Brownies
- Caramel Apple Blondies
Black Bottom Cupcakes

These black bottom cupcakes are amazing - moist chocolate cupcakes with a creamy chocolate chip cheesecake filling! They're a family favourite here!
Ingredients
For the Cheesecake:
- 1 8 ounce package Cream Cheese, (250g)
- 1/3 cup Granulated Sugar
- 1 large Egg
- 1/2 teaspoon Pure Vanilla Extract
- pinch of Salt
- 1 cup Mini Chocolate Chips, (semisweet)
For the Cupcakes:
- 2 1/4 cups All-Purpose Flour
- 6 tablespoons Unsweetened Cocoa Powder, (I used Dutch processed)
- 1 1/2 cups Granulated Sugar
- 1/8 teaspoon Salt
- 1 1/2 teaspoons Baking Soda
- 1 1/2 cups Warm Water
- 1/2 cup Canola Oil
- 1 1/2 teaspoons Pure Vanilla Extract
- 1 1/2 tablespoons Vinegar
Instructions
- Preheat the oven to 350°F.
- Line two muffin tins with paper cupcake liners.
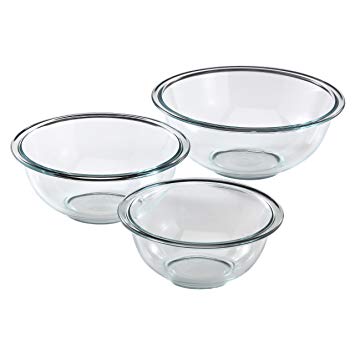
- In a medium bowl, stir together the cream cheese and sugar until smooth.
- Add the egg, vanilla, and salt and stir until smooth.
- Stir in the chocolate chips.
- Place the cheesecake filling in the fridge to firm up a bit while you prepare the cupcake batter.
- In a large bowl, whisk together the flour, cocoa powder, sugar, salt, and baking soda until well combined.
- In another bowl, whisk together the water, oil, vanilla, and vinegar until combined.
- Pour this mixture into the dry ingredients and stir until just combined.
- Fill the prepared muffin tins with the cupcake batter until they are half to 2/3 full.
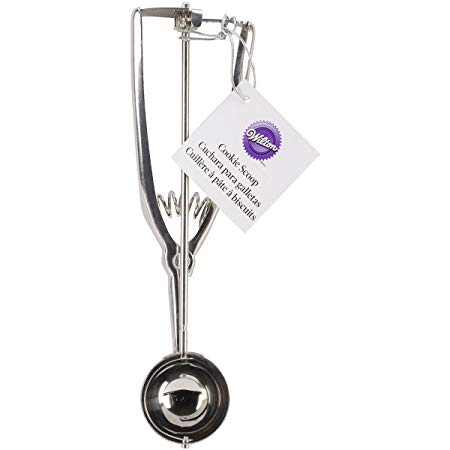
- Place 1-2 tablespoons of the cheesecake filling on top of each cupcake (I like to use a 1.5 tablespoon cookie scoop for this).
- Bake for 20-22 minutes, or until a toothpick inserted into the chocolate part of a cupcake comes out clean.
Notes
These cupcakes are best cold. Store them in an airtight container in the fridge for up to one week, or freeze for up to 3 months.
Recommended Products
This post contains affiliate links. As an Amazon Associate, I may receive a small commission from qualifying purchases.


Nutrition Information:
Yield:
24Serving Size:
1 cupcakesAmount Per Serving: Calories: 219Total Fat: 10gSaturated Fat: 4gTrans Fat: 0gUnsaturated Fat: 6gCholesterol: 17mgSodium: 129mgCarbohydrates: 30gFiber: 1gSugar: 20gProtein: 3g
Nutrition Information is estimated based on ingredients used and may not be exact.
I’ve also shared this Black Bottom Cupcakes Recipe over on Food Fanatic.
Carolyn
Thursday 27th of July 2023
If you want to dress these up, sprinkle jimmies the color of the season on them before baking.
Or mic slivered almonds (pieces of walnuts and pecans work well to) 1:1 with sugar and lightly sprinkle over the tops before baking.
Kim
Tuesday 12th of May 2020
Can you freeze these? If so, how long should they be stored in the freezer?
Stacey
Thursday 14th of May 2020
Yes, you can freeze them in an airtight container for up to 3 months.
sb
Thursday 2nd of April 2020
These were fantastic! I've always loved black bottom cupcakes but had never made them from scratch before. I was skeptical about how the cake part would turn out without the use of eggs - it was perfect! Not too sweet, moist, rose beautifully, and just right. Thank you so much for the recipe and helpful hints! I even cut the amount of chocolate chips in half to save some for a future recipe, and everything turned out beautifully, so there's a tip for others who might be short on ingredients or who want to get more use out of a bag of chocolate chips. This recipe was exactly what I needed considering I can't always find eggs and milk in the stores right now. Thank you Thank you!
Stacey
Friday 3rd of April 2020
So glad you liked them! I love black bottom cupcakes too, and it IS surprising how good the cake is without milk or eggs! I've made them without chocolate chips too and they're still great - I like them better with, but they're definitely not necessary. :)