
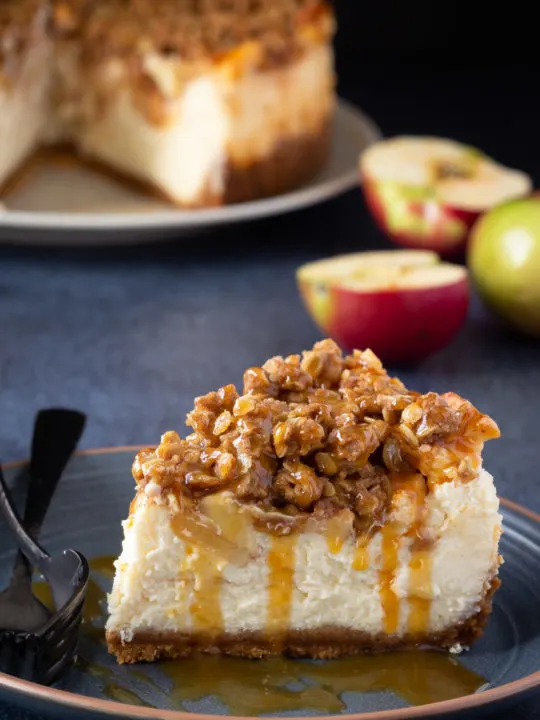
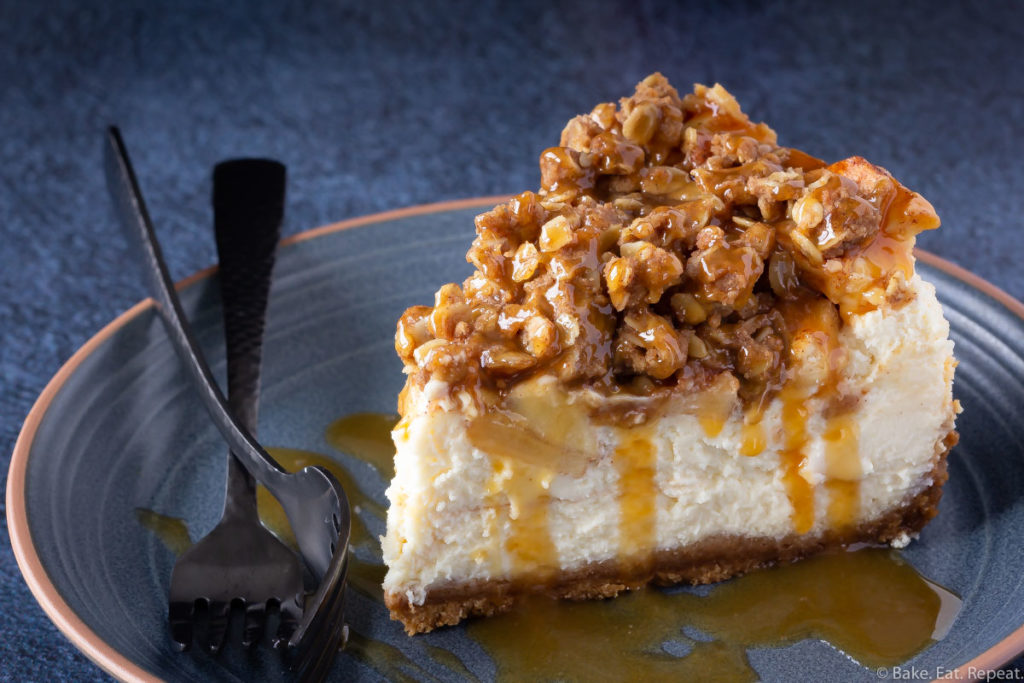
This apple crisp cheesecake is absolutely amazing – creamy cheesecake topped with cinnamon apples, a crumble topping, and caramel sauce! It’s the perfect dessert!

I don’t make big desserts very often. Mostly because there’s only five of us and a dessert like this cheesecake is a lot more than five servings.
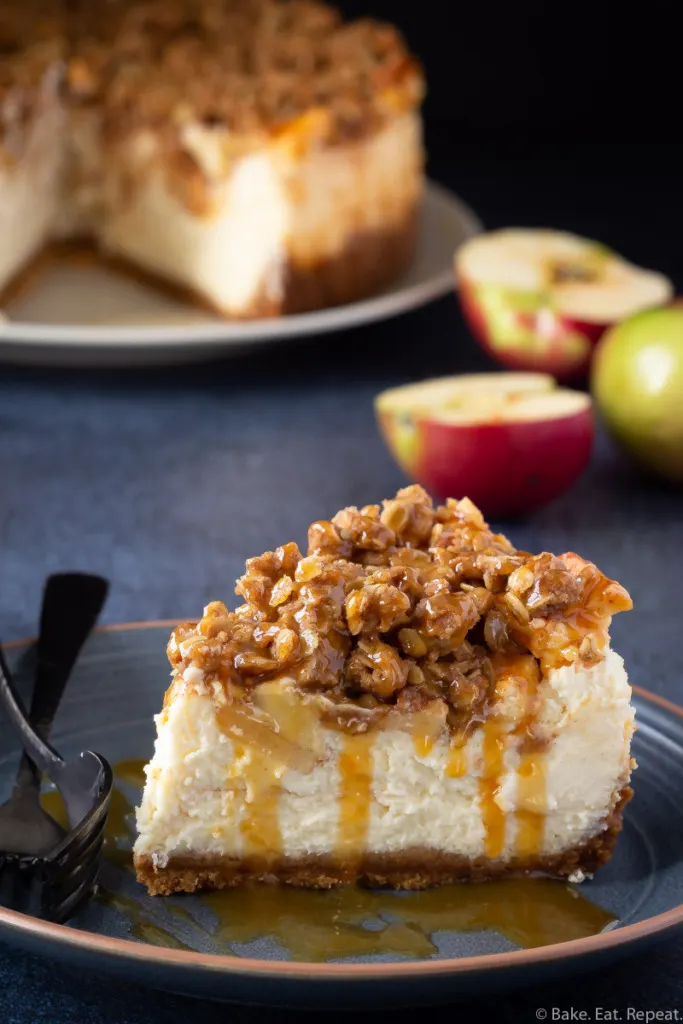
But when I do want to make dessert, I want it to be this apple crisp cheesecake.
This is the best cheesecake I have ever had in my life.
It’s amazing. If you love apple desserts and/or cheesecake, you need to make this ASAP.

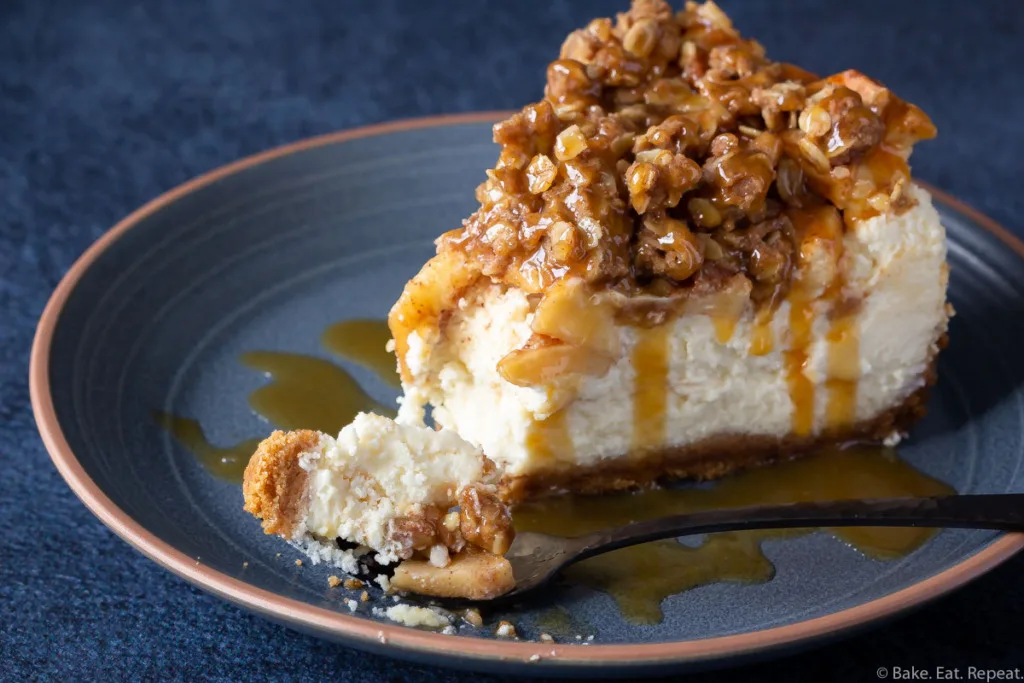
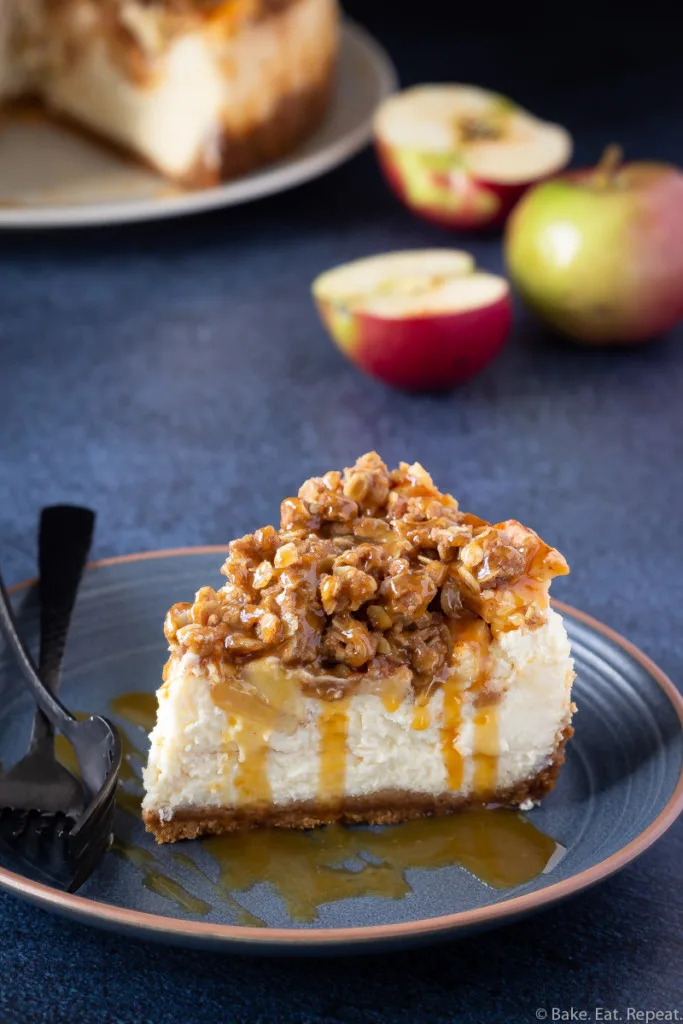
The ultra creamy cheesecake on a graham cracker crust is topped with cinnamon apples, a crumble topping, and then drizzled with caramel sauce.
And the best part is, it’s very easy to make. There are four layers, so there’s a few steps, but they’re all really easy!
Homemade apple crisp cheesecake is definitely worth making. It’s amazing!

What is the best type of apple to use for apple crisp?
The best apples for baked apple desserts are those that hold their shape well when cooked. Apples like Jonagold, Fuji, Granny Smith, Macintosh, Gala, or Honeycrisp are all good choices.
A combination of several different kinds of apples is the best way to go. However, I will admit that I don’t always bother with this – I use what I have, which is usually Gala.
Personally I like a combination of Gala and Granny Smith in my apple desserts, but use your preference!


How can you tell if a baked cheesecake is done?
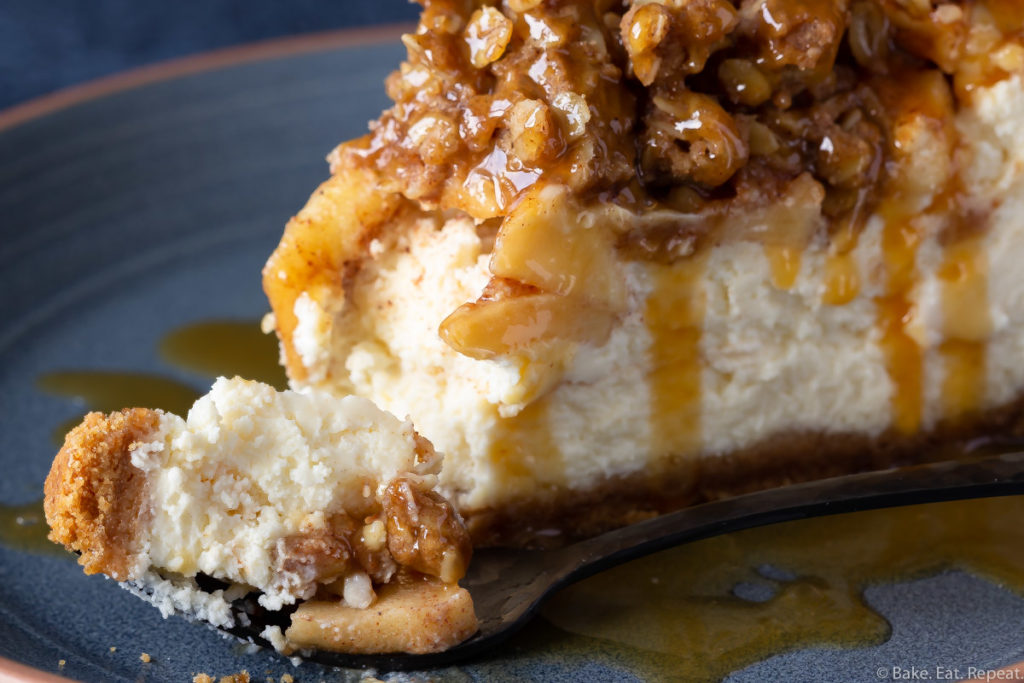
A baked cheesecake is done when the outer couple inches of the cake are set, but the middle is still jiggly.
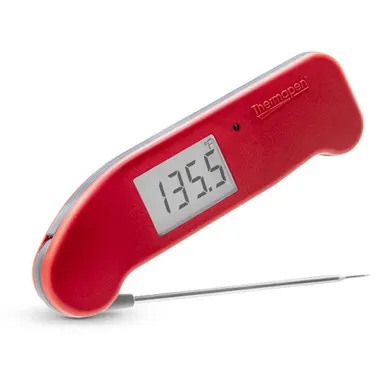
The most reliable way to tell if a cheesecake is done is by checking the temperature with an instant read thermometer (I have this one and love it!). The internal temperature in the middle of the cheesecake should be 150F when it’s done.

Once your cheesecake is 150F in the centre, turn the oven off, prop the door open with a potholder or the handle of a wooden spoon, and let it sit in the warm oven for an hour before taking it out to cool completely.
If you over bake your cheesecake, it will start to dry out and that’s when they tend to crack as they cool. This cheesecake is so creamy that it will still be delicious if it’s a bit overdone, but you can avoid that by checking the temperature and knowing whether it’s finished baking or not.


Can you over-beat a cheesecake?
If your cream cheese is softened to room temperature before you start to make your cheesecake batter, it’s pretty hard to over beat the mixture.
However, if you try to beat cold cream cheese, you will likely over mix your batter by the time you manage to get it smooth. Over mixing cheesecake batter will result in too much air being incorporated into the batter.
When this happens, the cheesecake will rise in the oven and then fall as it cools, which results in a sunken centre and/or cracks to form in the cheesecake.
So start with room temperature cream cheese for perfect cheesecake!

How to make Apple Crisp Cheesecake:
- Make sure your cream cheese is softened to room temperature before making the batter so it mixes easily.
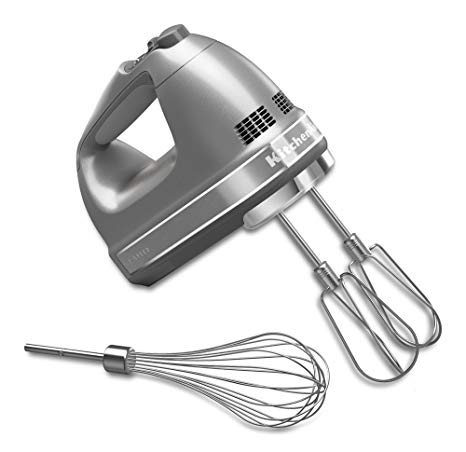
- It’s best to use an electric mixer for the cheesecake batter, so you can get it nice and smooth, but you don’t need a stand mixer or anything, just a simple electric hand mixer will work fine here. In fact, a stand mixer may over-beat your batter and result in a cheesecake that rises in the oven.
- The springform pan will be quite full once the apples and crumble topping are on top of the cheesecake batter. Place the cheesecake on top of a baking sheet to make it easier to move in and out of the oven.
- Use an instant read thermometer to check if your cheesecake is done baking or not – it should be 150F in the centre.
- After taking the cheesecake out of the oven, run a thin knife around the edge of the pan so the cheesecake doesn’t stick as it cools.
Here are some more great dessert recipes for you:
- Easy Apple Crisp
- Pecan Pie Bars
- Raspberry Pie
- Cherry Cheesecake Bars
- Lemon Berry No Bake Cheesecake Cups

Apple Crisp Cheesecake


This apple crisp cheesecake is absolutely amazing - creamy cheesecake topped with cinnamon apples, a crumble topping, and caramel sauce!
Ingredients
For the crust:
- 1 1/2 cups graham cracker crumbs
- 1 tablespoon granulated sugar
- 1/4 cup melted butter
For the cheesecake:
- 3 packages (24oz, 750g) cream cheese, softened
- 2 cups plain Greek yogurt (or sour cream)
- 1 1/4 cups granulated sugar
- 2 teaspoons vanilla
- 4 large eggs
For the apples:
- 3 cups peeled, sliced, apples (about 3)
- 1/4 cup granulated sugar
- 1 teaspoon cinnamon
For the crumble:
- 1/4 cup all purpose flour
- 1/2 cup rolled oats
- 1/4 cup brown sugar
- 1 teaspoon cinnamon
- 1/4 cup melted butter
For serving:
- Salted caramel sauce (or regular caramel sauce, optional)
Instructions
- Preheat the oven to 325 degrees F.
For the crust:
- In a small bowl, stir together the graham cracker crumbs and sugar.
- Drizzle the melted butter over top and stir until everything is evenly combined.
- Press the graham cracker crust evenly over the bottom of a 9” springform pan, and 1/2-1 inch up the sides.
- Bake the crust for 10-12 minutes. It should look dry after baking.
- Remove the crust from the oven and let it cool.
- Decrease the oven temperature to 275 degrees F.
For the cheesecake:
- In a large bowl, with an electric mixer (not a stand mixer), whip the cream cheese until it is smooth and fluffy.
- Add the Greek yogurt and whip briefly to combine.
- Add the sugar, vanilla, and eggs, and whip just until the mixture is smooth. Don't over-mix the batter.
- Pour the cheesecake batter into the cooled crust, smoothing the top.
For the apples:
- In a medium bowl, stir together the sliced apples, sugar, and cinnamon.
- Spoon the apples over top of the cheesecake batter, spreading them out as evenly as possible to cover the top of the cheesecake.
For the crumble:
- In a small bowl, stir together the flour, oats, brown sugar, and cinnamon.
- Drizzle the melted butter over top of this mixture and stir until it is completely combined.
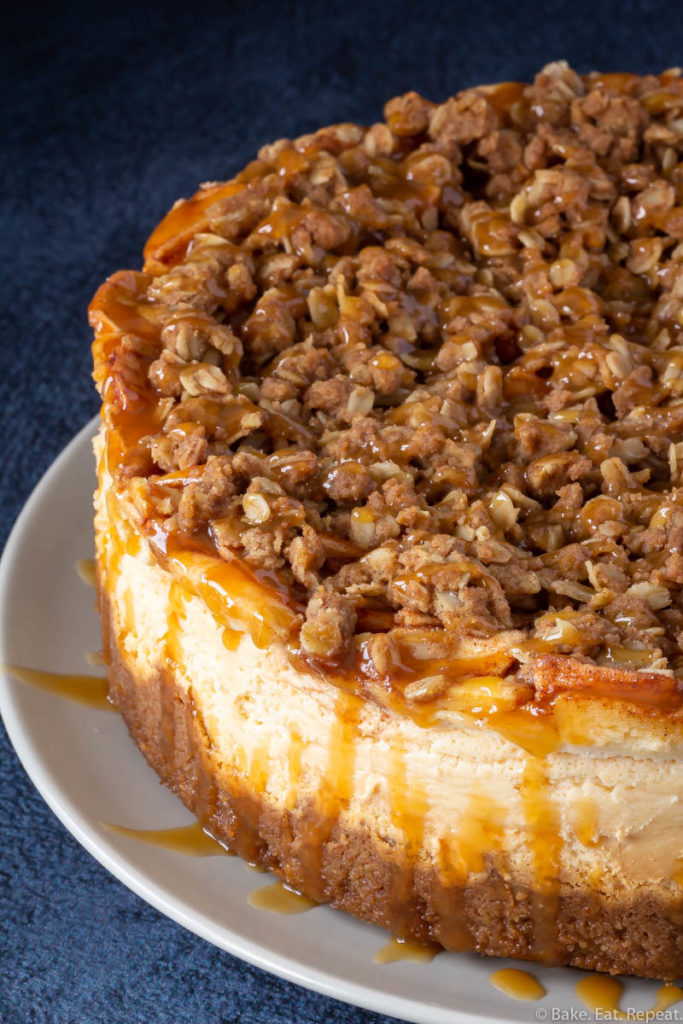
- Sprinkle the crumble topping over top of the apples on the cheesecake, spreading it over the cake evenly.
- The cake will come right up to the top of the springform pan.
To bake:
- Place the cheesecake pan on a baking sheet (easier to pull in and out of the oven as the pan will be quite full), and bake it at 275 degrees F for 1 1/2 to 2 hours, or until an instant read thermometer placed in the centre of the cheesecake reads 150F.
- Once the cheesecake has reached 150F in the centre, turn off the oven, prop open the oven door with a potholder or the handle of a wooden spoon, and let the cheesecake sit in the warm oven for an hour.
- After an hour, take the cheesecake out of the oven.
- Run a thin, sharp knife around the edge of the pan, and let it cool completely on a wire rack at room temperature. This will take 3-4 hours.
- Once it’s cool, chill the cheesecake overnight (or for at least 8 hours) in the refrigerator before slicing and serving it.
- Before serving, drizzle the cheesecake with salted caramel sauce, if desired.
- Cover any leftover cheesecake with plastic wrap, and store in the refrigerator for up to 5 days.
Notes
Make sure not to over-mix the cheesecake batter or it may rise in the oven and possibly spill over. I suggest using an electric hand mixer on low speed, not a stand mixer, and make sure your cream cheese is soft when you start. Placing the cheesecake pan on a baking sheet to bake makes it easier to pull in and out of the oven.
Source: Adapted from Cook's Illustrated Baking Book.
Recommended Products
This post contains affiliate links. As an Amazon Associate, I may receive a small commission from qualifying purchases.


Nutrition Information:
Yield:
12Serving Size:
1 sliceAmount Per Serving: Calories: 351Total Fat: 13gSaturated Fat: 7gTrans Fat: 0gUnsaturated Fat: 5gCholesterol: 91mgSodium: 206mgCarbohydrates: 50gFiber: 2gSugar: 39gProtein: 9g
Amy
Thursday 14th of December 2023
Could I split this recipe into two 6” cheesecakes? I am thinking of gifting small cheesecakes this Christmas.
Stacey
Wednesday 20th of December 2023
I haven't tried this so I can't say how well it will work, or what the bake time would be with the smaller size. Let me know if you try it!
Debbie
Wednesday 22nd of November 2023
I made this for Thanksgiving, everyone loves it. Great recipe. Thankyou
Stacey
Wednesday 22nd of November 2023
So glad you liked it!
Brianna
Wednesday 22nd of November 2023
Not seeing any salt in the ingredients. Are you supposed to use salted or unsalted butter?
Stacey
Wednesday 22nd of November 2023
I use unsalted butter, but I think salted would be fine too if you prefer, as there isn't any salt in the recipe, other than in the salted caramel that is drizzled on top. I didn't find that it needed any salt though, and unsalted butter was fine to use.
Michelle
Thursday 16th of November 2023
How thin should I slice the apples, and can I dice them instead?
Stacey
Saturday 18th of November 2023
I sliced my apples probably about 1/8" thick. They don't need to be super thin or anything. I think you could dice them instead if you wanted and it would work just fine though.
Vince Harwood
Monday 16th of October 2023
When cooling in fridge do you cover the cheesecake? I've covered products before and they get soggyas all get out.
Stacey
Thursday 19th of October 2023
I did not cover the cheesecake when it was chilling in the fridge the first night. I did cover the leftovers loosely with plastic wrap though and they did not get soggy, but at that point it wouldn't be warm at all. The initial chilling is probably best done uncovered so that you don't get any condensation if the cake is still slightly warm.