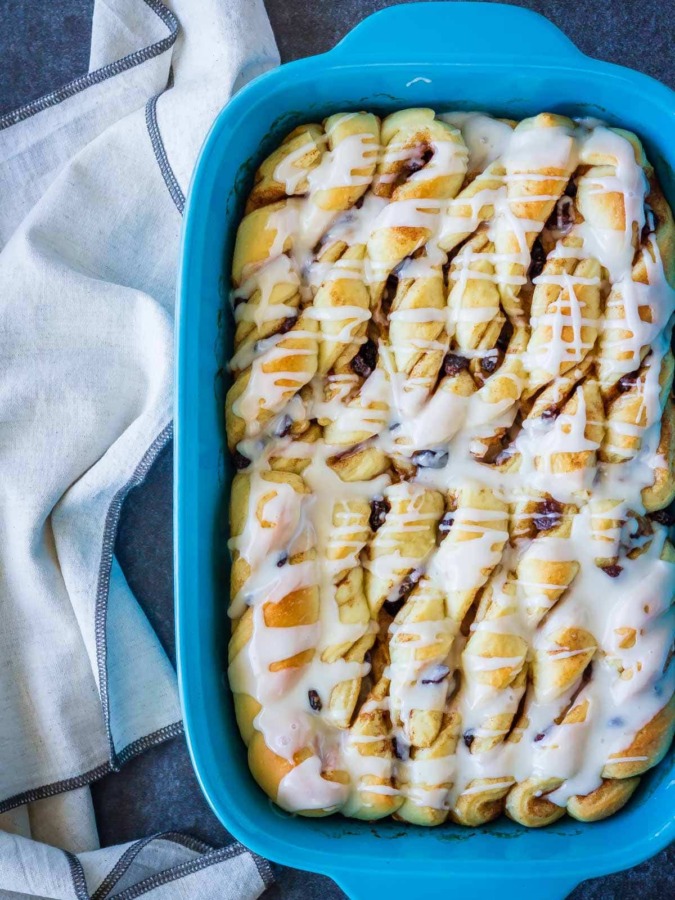

These homemade cinnamon twists, filled with cinnamon, brown sugar, and sweet California Raisins, are the perfect treat for a weekend brunch! They are so easy to make and they taste amazing – everyone will love them!
Disclaimer: This post has been sponsored by California Raisins and I have been compensated monetarily. All opinions are, as always, my own.

One of my favourite things to make on the weekend is sweet rolls of some sort.
They’re easy to make, they taste fantastic, they can be made ahead of time so there’s nothing to do but bake them on the weekend, and everyone loves them.
They make the best kind of weekend brunch in my mind. We usually cook up some sausage and scrambled eggs while the sweet rolls are in the oven.
It results in a very relaxed meal that still seems kind of fancy.
These cinnamon twists have been made here at least four times in the last couple months. They’re so good.
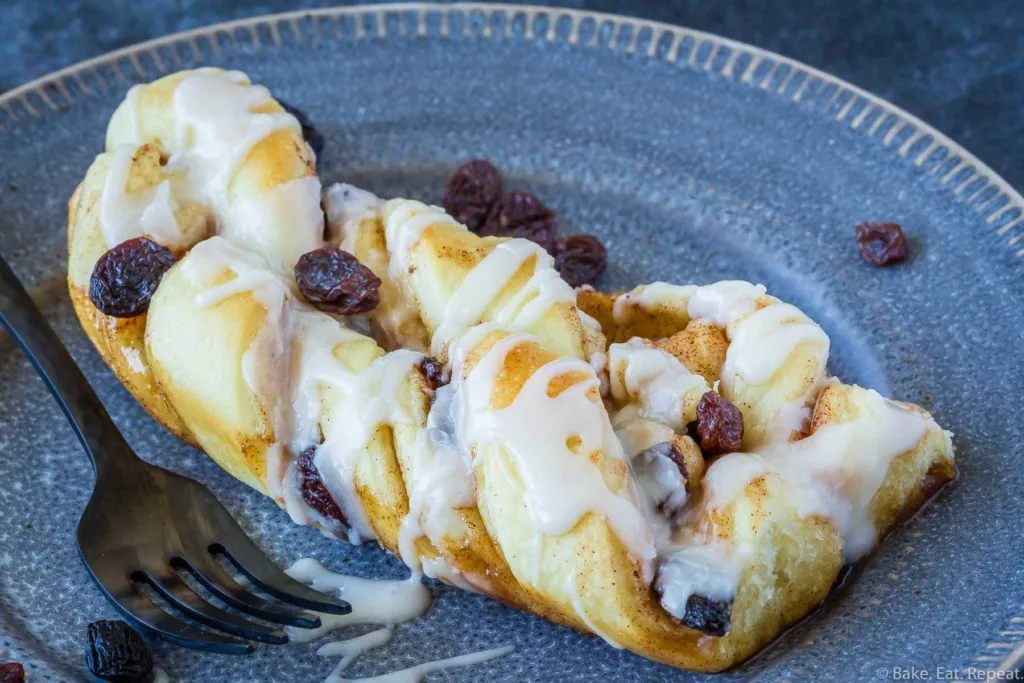
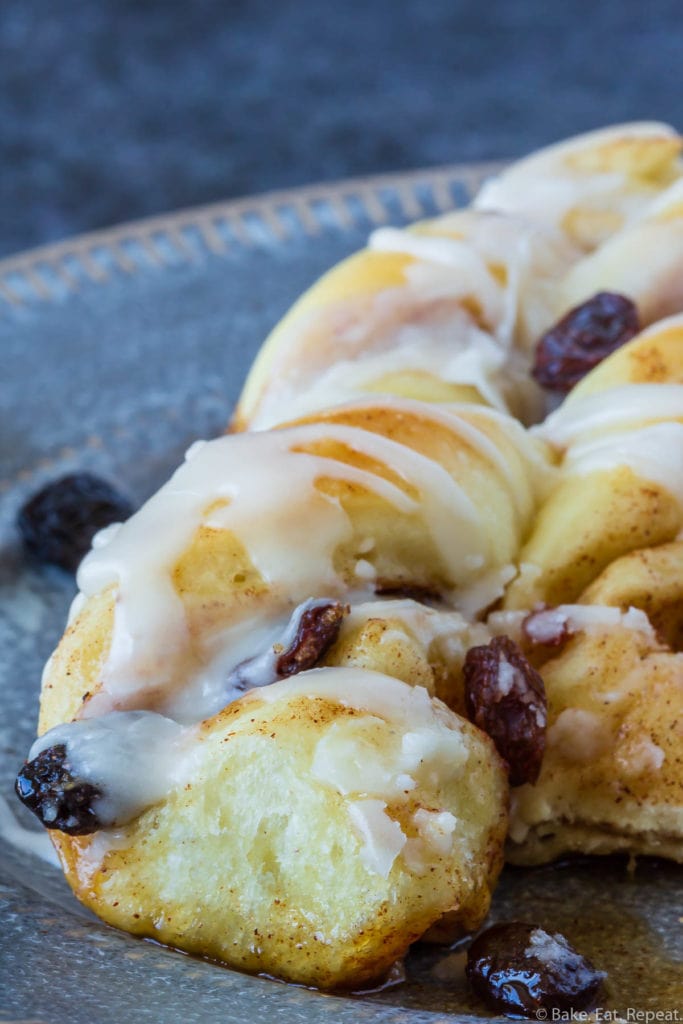
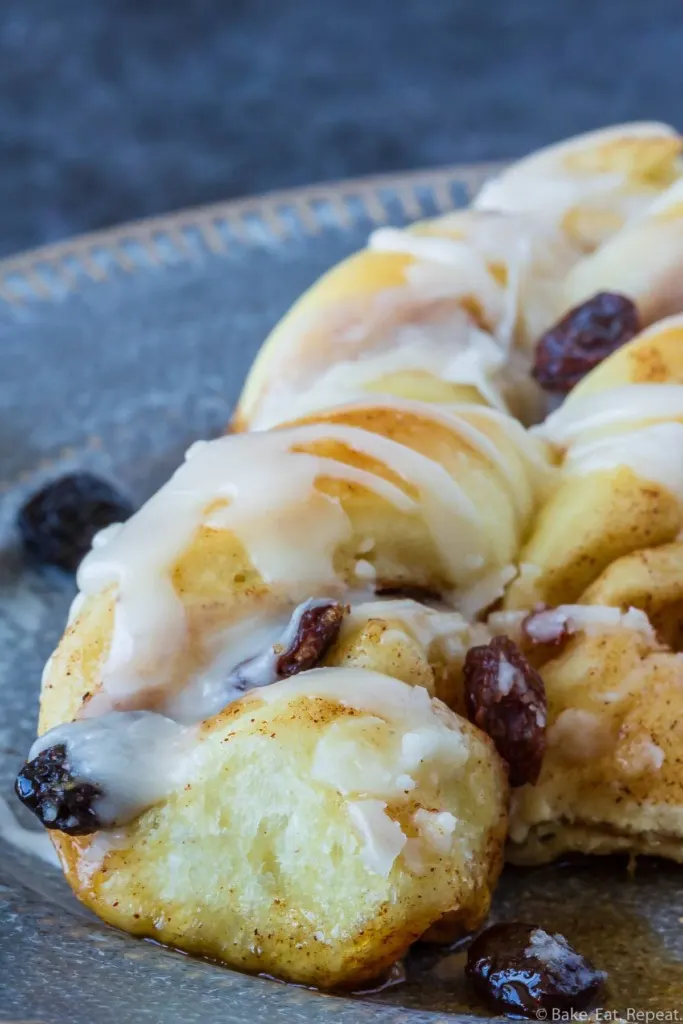
Homemade cinnamon roll dough is filled with brown sugar, cinnamon, and naturally sweet California Raisins.
Fold it over a couple of times and cut it into thin strips.
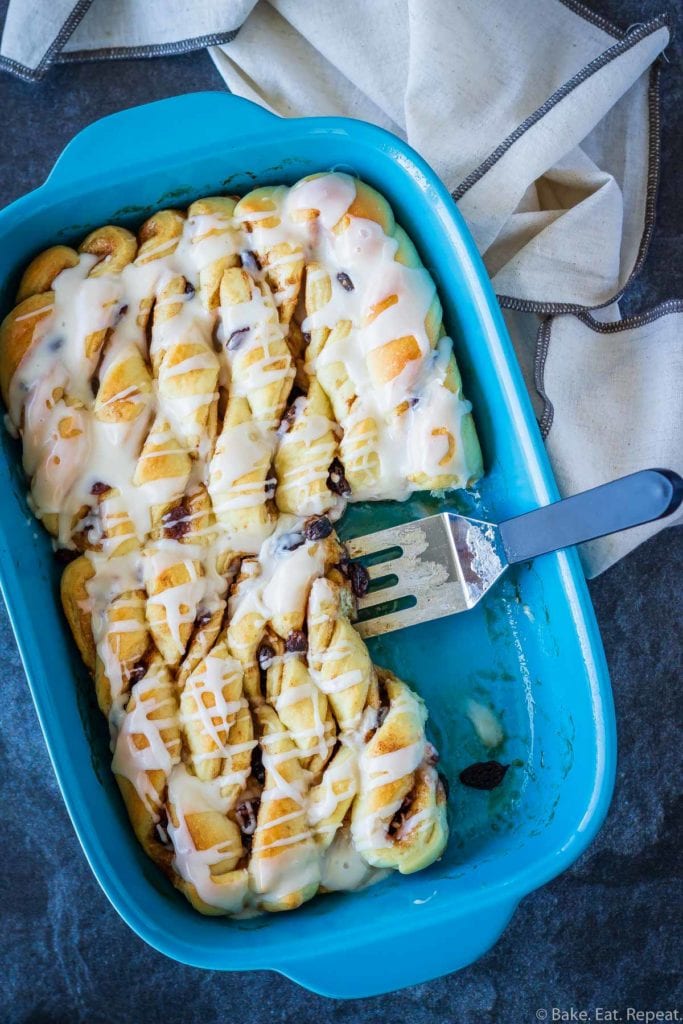
Then simply twist them up before letting them rise and baking them.

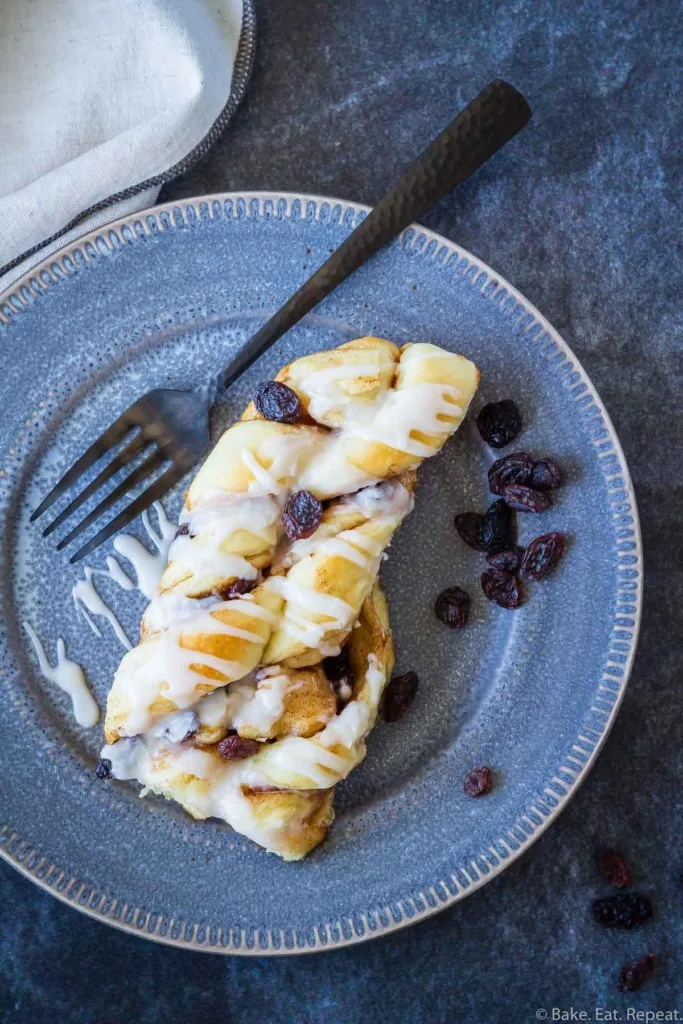
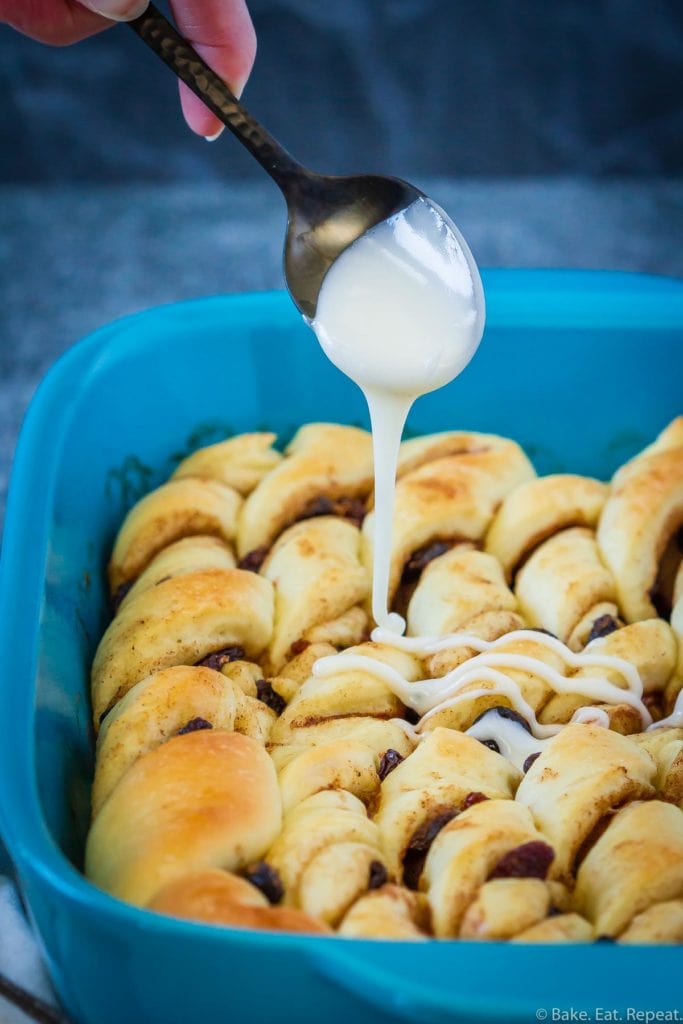
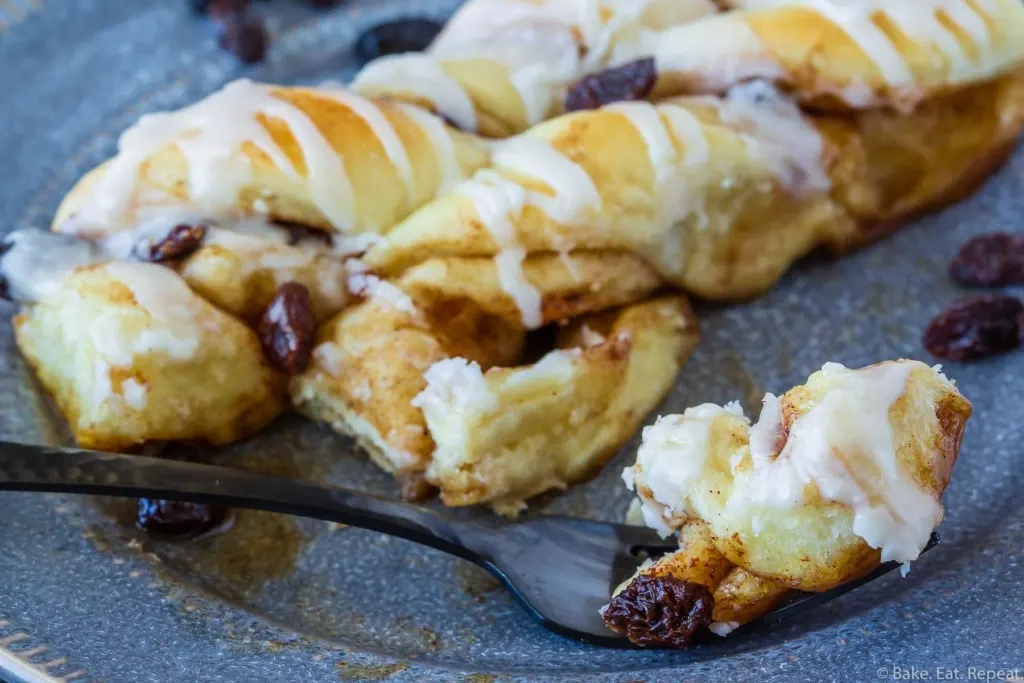
Top them with a sweet vanilla glaze and you have some amazing cinnamon twists to wow your family with for a weekend brunch!
And I have to say that these cinnamon twists are not the same unless you add some California Raisins to them.
Raisins are such a versatile addition to so many baking and cooking recipes, and they are so tasty in these cinnamon twists.
We fight over the raisins that get left behind in the pan after all the sweet rolls are gone – they’re so good!

How do you make cinnamon twists from scratch?
These cinnamon twists are very easy to make, so don’t be scared to try if you’ve never made your own cinnamon rolls before!
Sweet yeast dough is one of the easiest doughs to work with.
If you have a stand mixer, you don’t even have to knead the dough yourself. Throw all of the ingredients in and let it do all the work for you.
The one thing to be aware of when making a yeast dough, is that the amount of flour that is called for is not a hard and fast rule, as it does change based on a number of factors, such as humidity.
So after initially mixing all the ingredients, look at the dough.
If it is really loose and wet looking, and won’t come together into a ball, then you need to add a bit more flour.
If it is really dry and some of the flour isn’t hydrated, then you need to add a bit more buttermilk.
Perfectly floured dough should be a bit tacky to the touch, but not crazy sticky, and it should come together into a ball when you mix it, clearing the sides and bottom of the bowl.
If you’re unsure what your dough should look like, take a look at the step by step photos I’ve included in the recipe video.

Can you make cinnamon twists ahead of time?
These cinnamon twists can be made ahead of time, which makes them absolutely perfect for a weekend brunch!
To make them ahead of time, follow the recipe up to the point that the cinnamon twists are shaped and ready to rise in the baking pans.
At this point, instead of letting them rise, cover them and place them in the refrigerator for up to two days.
The day you want to serve them, take them out of the fridge, and let them rise at room temperature for 2-3 hours, or until they have doubled, and then bake them as directed.
Can cinnamon twists be frozen?
Yes, cinnamon twists can be frozen. I like to freeze them after shaping them, but before baking them.
After shaping them, instead of letting them rise again, cover them tightly and freeze them for up to three months.
When you want to bake them, move them to the refrigerator to defrost overnight.
The next day, let them rise at room temperature for 3-4 hours, or until they have doubled, and then bake them as directed.
The exact amount of time they will need to rise will vary a bit depending on whether they have completely defrosted, and how warm the room is while they’re rising.


How to make Cinnamon Twists:
- When you’re shaping these cinnamon twists, the cinnamon sugar and raisins do tend to fall out a bit. Don’t worry about it, just twist them up over top of the baking dish so most will fall in the dish, and sprinkle anything else over top of the shaped cinnamon twists. It will all bake up together and be delicious anyways.
- These are shaped by rolling the dough out into a large rectangle, and then folding it in thirds over top of the filling. I usually cut the large rectangle in half before folding the thirds over top, simply because it makes the folding easier to do (see the video). Then you just cut the folded dough into one inch strips, and twist them up.
- My family loves raisins, so I tend to add more than 1/2 cup of raisins, probably closer to 3/4 cup. The best raisins in the world come from California, and we are happiest when we get some in every bite while enjoying these sweet cinnamon twists. If your family is the same, feel free to add more than the 1/2 cup called for in the recipe!
Here are some more great sweet roll recipes for you:
- Strawberry Lemon Sweet Rolls
- Apple Cinnamon Sweet Rolls
- Cinnamon Rolls
- Chocolate Orange Sweet Rolls
- Lemon Raspberry Sweet Rolls
Cinnamon Twists
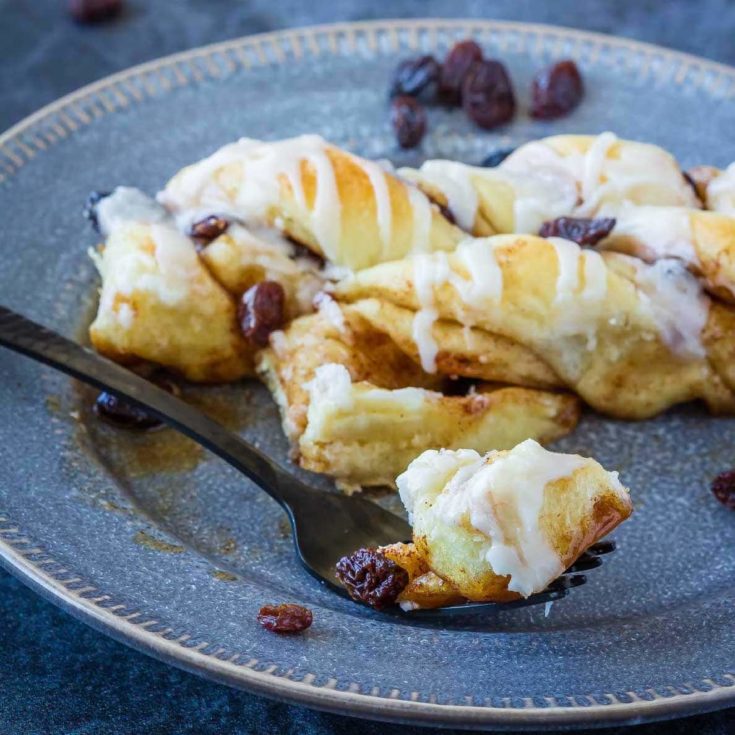
These homemade cinnamon twists, filled with cinnamon, brown sugar, and sweet California Raisins, are the perfect treat for a weekend brunch! They are so easy to make and they taste amazing - everyone will love them!
Ingredients
For the dough:
- 5 tablespoons butter, softened to room temperature
- 1 teaspoon kosher salt
- 6 tablespoons granulated sugar
- 1 large egg, slightly beaten
- 3 1/2 cups all-purpose flour
- 2 teaspoons instant yeast
- 1 1/8 to 1 1/4 cups buttermilk
For the filling:
- 4 tablespoons butter, softened
- 3/4 cup brown sugar, lightly packed
- 1 1/2 teaspoons cinnamon
- 1/2 cup raisins
For the glaze:
- 1 1/2 cups powdered sugar
- 1 teaspoon vanilla
- 3-4 tablespoons milk
Instructions
- In the bowl of a stand mixer with the paddle attachment, or in a large bowl with an electric mixer, cream together the butter, salt, and sugar for the dough. Add the egg and mix until smooth.
- Switch to the dough hook on a stand mixer (or a wooden spoon if mixing by hand), and add the flour, yeast, and 1 1/8 cups of the buttermilk.
- Mix on low speed until the dough comes together into a ball and clears the sides and bottom of the bowl.
- If it’s really sticky and not clearing the bottom of the bowl and coming together, add a bit more flour, a tablespoon at a time until it does. If it’s really dry to the touch and not tacky at all, with bits of flour that are not hydrated, add a bit more buttermilk, a tablespoon at a time until it is smooth and slightly tacky.
- Knead for 10-12 minutes (12-15 if kneading by hand) until the dough is smooth and silky, a bit tacky, but not sticky at all.
- Transfer the dough to a large, lightly oiled bowl and cover it tightly with plastic wrap. Allow it to rise for about 2 hours until it doubles in size.
- In a small bowl, mix together the brown sugar and cinnamon for the filling and set aside.
- Lightly spray two 9x13 inch baking pans, or one large rimmed baking sheet with non-stick spray and set aside.
- Punch down the risen dough and turn it out onto a lightly oiled counter.
- Roll it out to about 1/4 inch thick rectangle, about 18 x 24 inches.
- With a rubber spatula, spread the softened butter over the dough, leaving 1/4 inch space around the edges.
- Spread the brown sugar and cinnamon mixture evenly over the butter.
- Sprinkle raisins evenly over the sugar.
- Fold the dough in thirds, starting from one long side. Fold the top third over the middle third, and then the bottom third up over top, pressing the seams slightly to seal them. I find this easier to do if I cut the large rectangle in half first (shown in the step by step video) but this isn’t necessary.
- Using an oiled pizza wheel (or a very sharp knife) slice this long rectangle into 24 one inch strips.
- Pick up one strip at a time, twist it two or three times and lay it in the prepared baking pan.
- Repeat with the remaining 24 strips. You can either make two 9x13 inch pans of 12 twists each, or one large baking sheet with all 24 twists.
- Some of the filling will fall out. Don’t worry about it, just do the twisting over top of the prepared baking pan so it mostly falls in with the cinnamon twists, and sprinkle any filling that is left on the counter over top of the cinnamon twists after they’re all in the pan.
- Cover the pan with plastic wrap, and let the cinnamon twists rise at room temperature for about 90 minutes, or until they have doubled in size.
- Preheat the oven to 350 degrees F, with a rack in the middle of the oven.
- Bake for 14-15 minutes, or until they are golden brown.
- While the twists are baking, make the glaze. In a small bowl, stir together the powdered sugar, vanilla, and 3 tablespoons of milk. If the glaze is too thick to drizzle off of a spoon, add a bit more milk until it thins out. Set aside, covered tightly with plastic wrap.
- When the cinnamon twists are finished baking, allow them to cool in the pan for 5-10 minutes, then drizzle the vanilla glaze over top. Serve warm.
- Keep any leftovers covered tightly in the refrigerator, they reheat well in the microwave.
Notes
This recipe makes 24 cinnamon twists, which is quite a lot, but they do keep well in the refrigerator for 3-4 days if you want to make them all but aren’t serving a crowd. The other option is to make them in two 9x13 inch pans and freeze one pan for a later time.
If you want to freeze them, prepare them as directed until they are shaped and ready in the pans. Then instead of letting them rise immediately, cover the pan tightly with plastic wrap and aluminum foil and freeze. When you’re ready to use them, move the pan to the refrigerator to defrost the day before you want to bake them. The next day move the pan to room temperature and let the twists rise for 3-4 hours (maybe a little longer, depending on how long they’ve been in the fridge and how warm the room is, they should double in size) before baking.
You can bake these the same day you make them. Or you can make them ahead of time by preparing them as directed up to the point where they are shaped and ready in the pan. At this point you can either let them rise and bake them immediately, or you can cover the pan tightly with plastic wrap and refrigerate them for up to 2 days before baking them. The day you want to bake them, take them out of the refrigerator and let them rise for 2-3 hours, or until they have doubled in size, and then bake as directed.
Source: Adapted from my Cinnamon Roll recipe.
Recommended Products
This post contains affiliate links. As an Amazon Associate, I may receive a small commission from qualifying purchases.


Nutrition Information:
Yield:
12Serving Size:
2 twistsAmount Per Serving: Calories: 373Total Fat: 10gSaturated Fat: 6gTrans Fat: 0gUnsaturated Fat: 3gCholesterol: 40mgSodium: 313mgCarbohydrates: 66gFiber: 2gSugar: 36gProtein: 6g
Nutrition Information is estimated based on ingredients used and may not be exact.