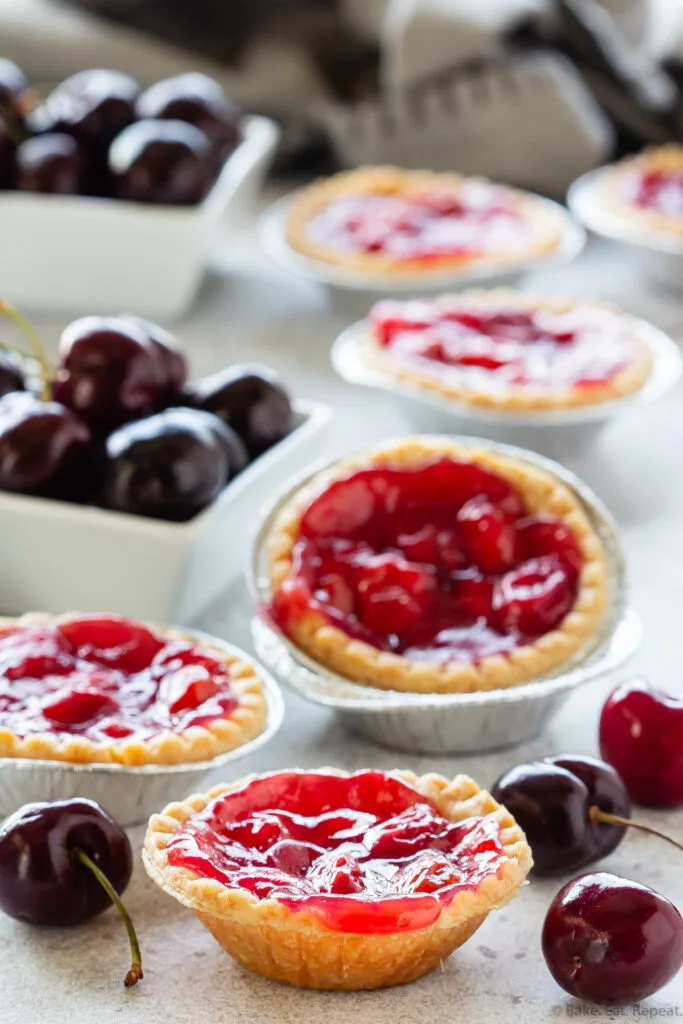
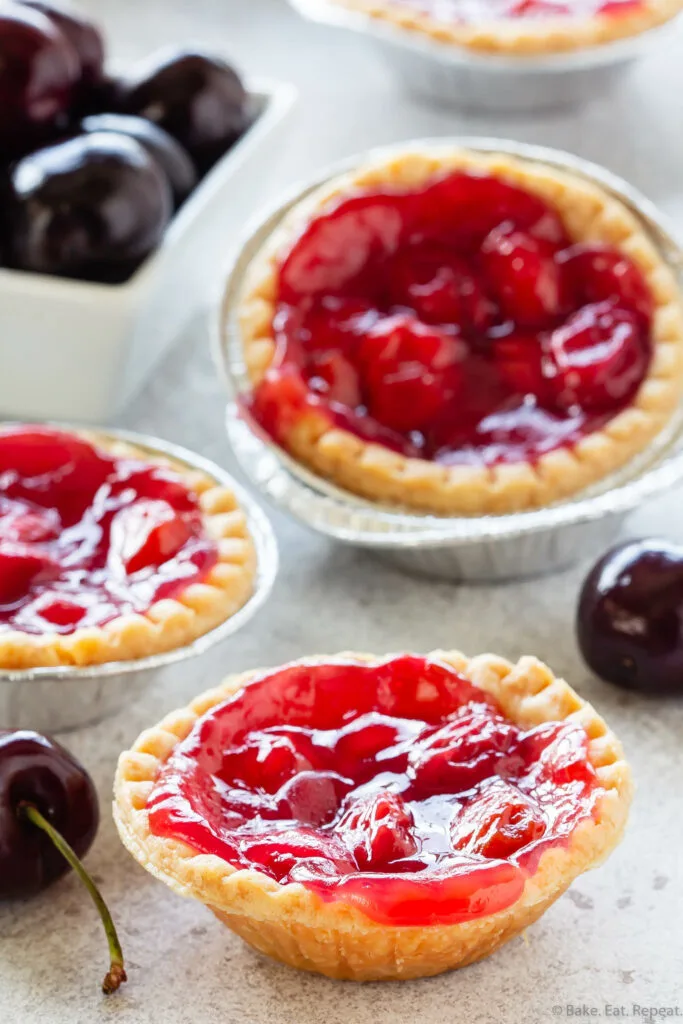
These mini cherry tarts with a tasty homemade cherry pie filling are super easy to make and taste fantastic. Everyone will love them!
These little cherry tarts are my new favourite dessert. They’re so quick and easy to make and everyone loves them. A quicker version of homemade cherry pie is what these little tarts are.
My mom used to make cherry tarts quite often when I was a kid, and we always loved those little tarts. They made the best dessert or snack. So these also have a bit of a nostalgia factor for me, but even with that aside they are absolutely delicious!
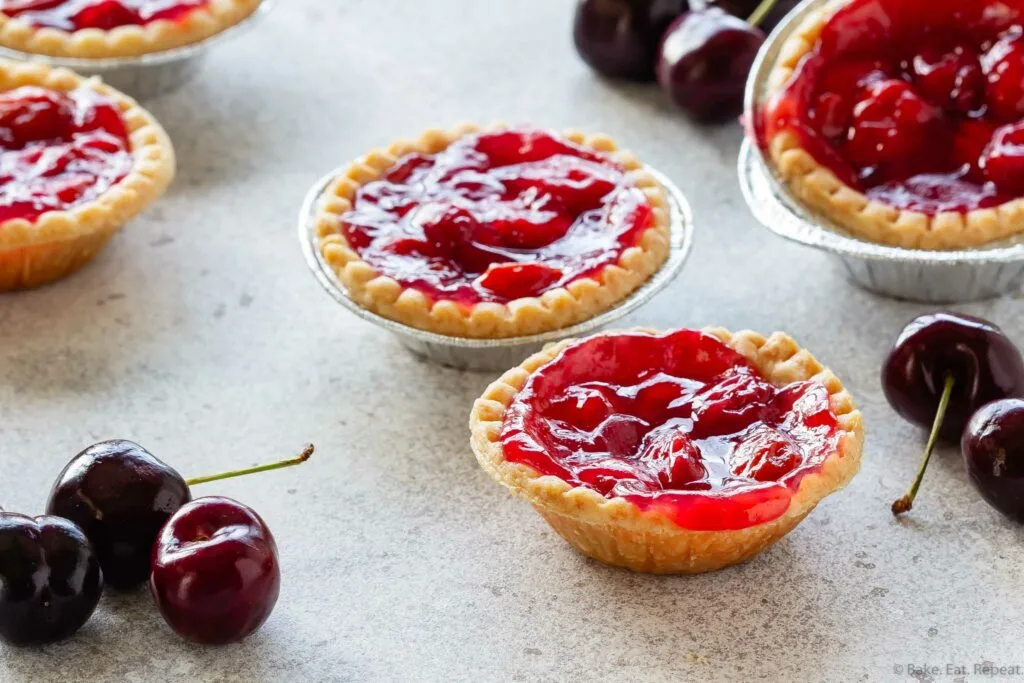
You can make them with fresh or frozen cherries. You can use sweet or sour cherries, although I almost always use sour cherries as I end up with a ton of them in the freezer from my tree every year. And you can use store-bought or homemade tart shells.
I will admit, that even though I typically go for totally homemade when it comes to baking, I do default to store-bought tart shells. I just really hate making tart shells. And the store-bought ones are good. So that’s what I almost always use, but go with whichever you prefer!
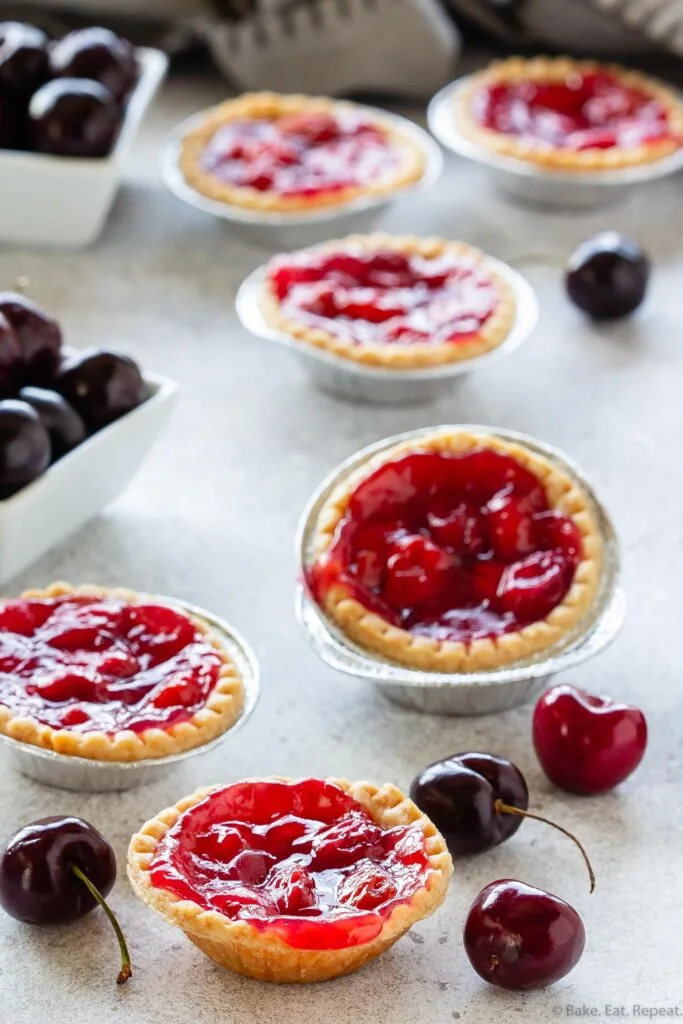
How can I pit cherries without a pitter?
A cherry pitter is the easiest way to pit fresh cherries, but you can also use a chopstick or a piping tip to push the pit out of the cherry.
You do want to make sure you get all the pits out of the cherries before baking with them though, as they are quite awful to bite down on in the middle of your tasty cherry tart. Ask me how I know this. Note to self – kids get bored and not as careful when they’re pitting lots and lots of cherries!
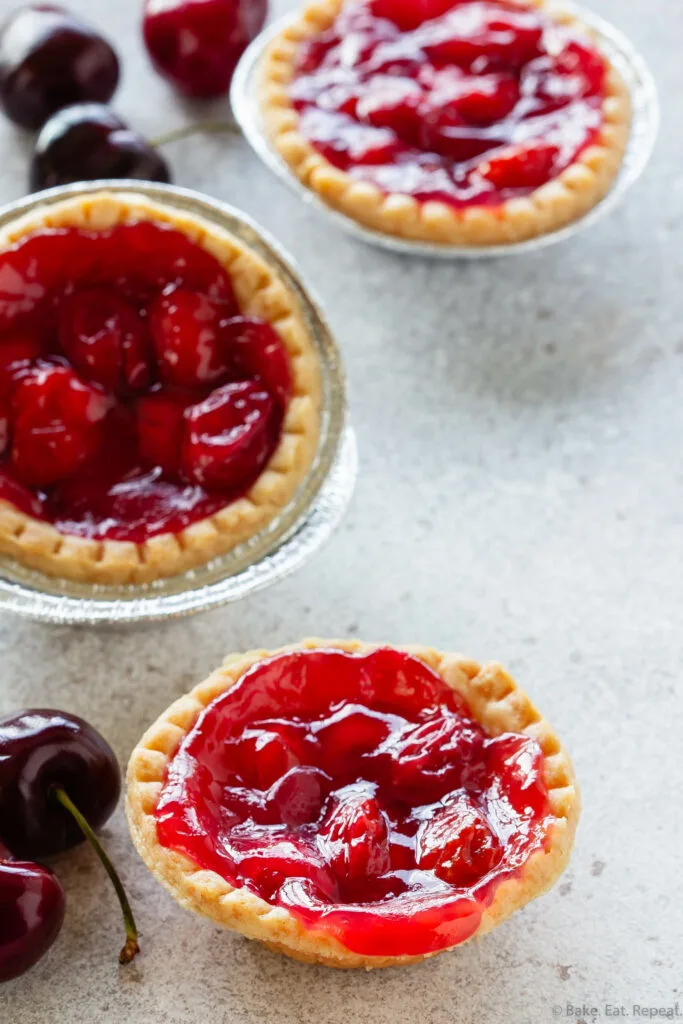
Can fresh cherries be frozen for later use?
Yes you can definitely freeze fresh cherries to use later! I do this every year with the sour cherries from my tree, and then bake with the frozen cherries all year long.
Make sure to wash and pit the cherries before freezing them. I like to freeze my cherries in 3 cup and 6 cup portions, as most desserts I’m making with them use one of those amounts. It’s definitely easier to portion the cherries out before freezing so that you can use them frozen and don’t have to thaw them to separate them.
Another option is to freeze them spread out on a baking sheet with freezer paper, and then put them in ziplock bags after they’re frozen so they don’t freeze together, and can be measured out after they’re frozen.
What kind of cherries should I use for these cherry tarts?
You can use either sweet or sour cherries, and they can be either fresh or frozen for this cherry tart recipe. I usually use sour cherries for these tarts, as I get a ton of them on my tree every year, but you can make them with sweet cherries as well.
The ingredient amounts change a bit when using sweet cherries, so check the notes of the recipe for those changes before using sweet cherries.
The cherries can be fresh or frozen, and you don’t need to thaw them first, as they are cooked down into a sauce before putting them in the tart shells. I haven’t tried canned cherries for this recipe.
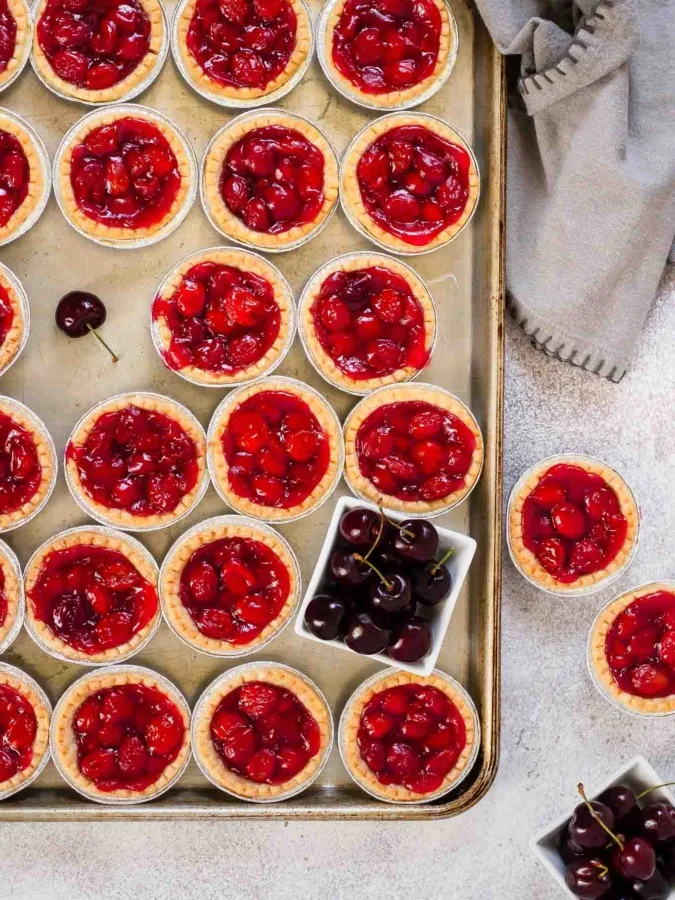
How to make Cherry Tarts:
- You can use fresh or frozen cherries for this recipe. You don’t need to thaw the cherries first.
- I usually use sour cherries for these tarts, but you can use sweet cherries instead. Check the notes of the recipe for changes if you are using sweet cherries.
- I almost always use store bought tart shells for this recipe, as I kind of hate making tart shells. But you can definitely use homemade pie crust instead and make your own tart shells. I like this homemade pie crust recipe when I make my own.
Here are some more great cherry recipes for you:
- Cherry Cheesecake
- No Churn Chocolate Cherry Ice Cream
- Cherry Pop Tarts
- Cherry Cheesecake Pie
- Cherry Cheesecake Bars
Cherry Tarts
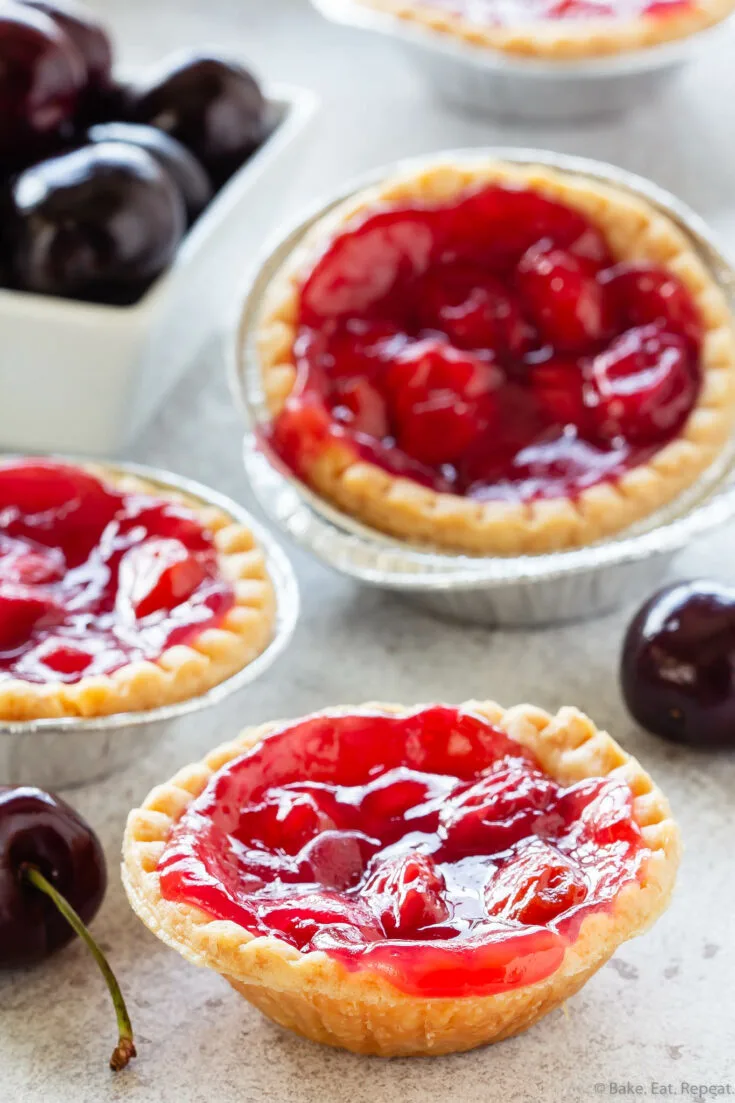
These mini cherry tarts with a tasty homemade cherry pie filling are super easy to make and taste fantastic. Everyone will love them!
Ingredients
- 18-22 prepared 3” tart shells
- 3 cups sour cherries (see notes if using sweet cherries)
- 1 teaspoon fresh lemon juice
- 2/3 cup granulated sugar
- 2 tablespoons cornstarch
Instructions
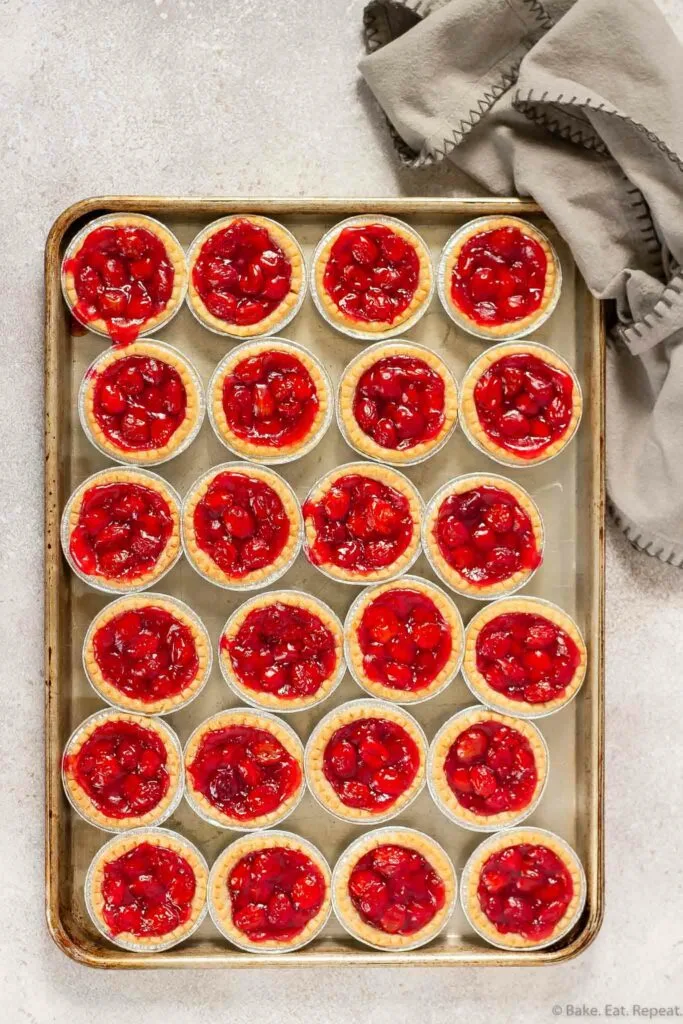
- Preheat the oven to 350F. Place the tart shells on a rimmed baking sheet.
- In a medium saucepan over medium heat, stir together the cherries, lemon juice, sugar, and cornstarch.
- Cook, stirring constantly, until the cherries start to break down and the sauce thickens. This will take about 8-10 minutes if the cherries are frozen, about 5 minutes if they are fresh.
- Spoon the cherry pie filling into the prepared tart shells, filling them almost full.
- Bake the tarts for 25-30 minutes, or until the crust is browned and the filling is bubbling.
- Store the tarts loosely covered at room temperature for up to 3 days, or freeze them in an airtight container for up to 3 months.
Notes
If using sweet cherries, increase the lemon juice to 1 tablespoon, and decrease the sugar to 1/2 cup. You can use fresh or frozen cherries for this recipe, no need to defrost the cherries first.
Recommended Products
This post contains affiliate links. As an Amazon Associate, I may receive a small commission from qualifying purchases.
Nutrition Information:
Yield:
20Serving Size:
1 tartAmount Per Serving: Calories: 109Total Fat: 3gSaturated Fat: 2gTrans Fat: 0gUnsaturated Fat: 1gCholesterol: 7mgSodium: 22mgCarbohydrates: 21gFiber: 1gSugar: 14gProtein: 1g
Nutrition Information is estimated based on ingredients used and may not be exact.



margaret
Tuesday 18th of February 2025
these look so yummy, but can i freeze the cherry tarts after baked.
Stacey
Thursday 20th of February 2025
I never have, but I don't see why not! I'm sure they would freeze just fine in an air tight container.