
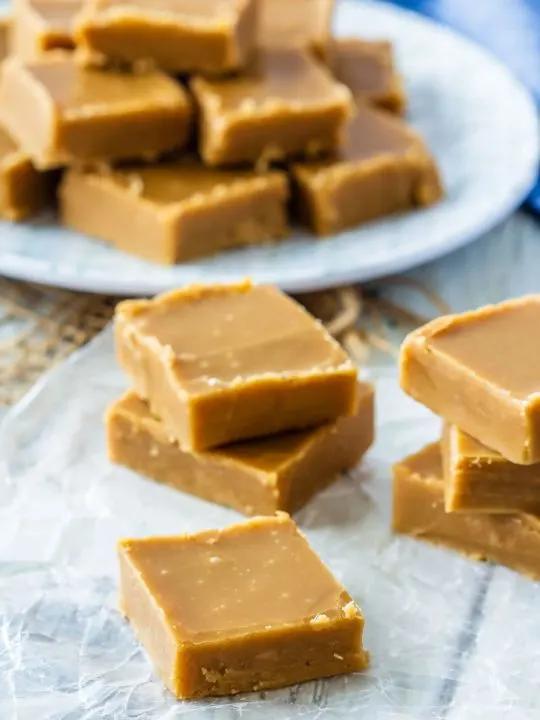
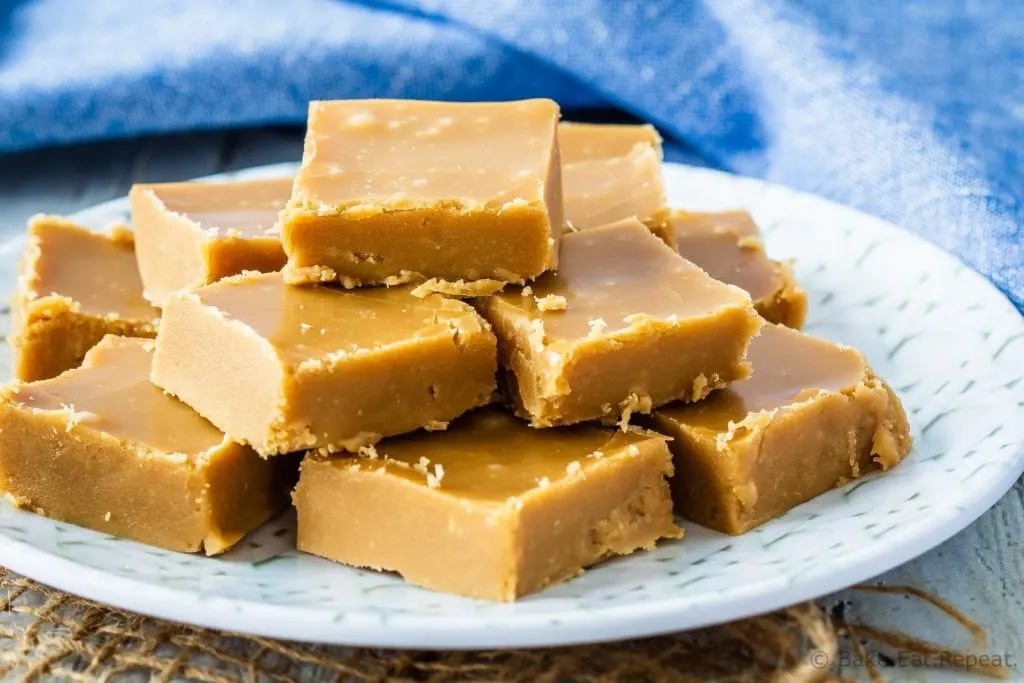
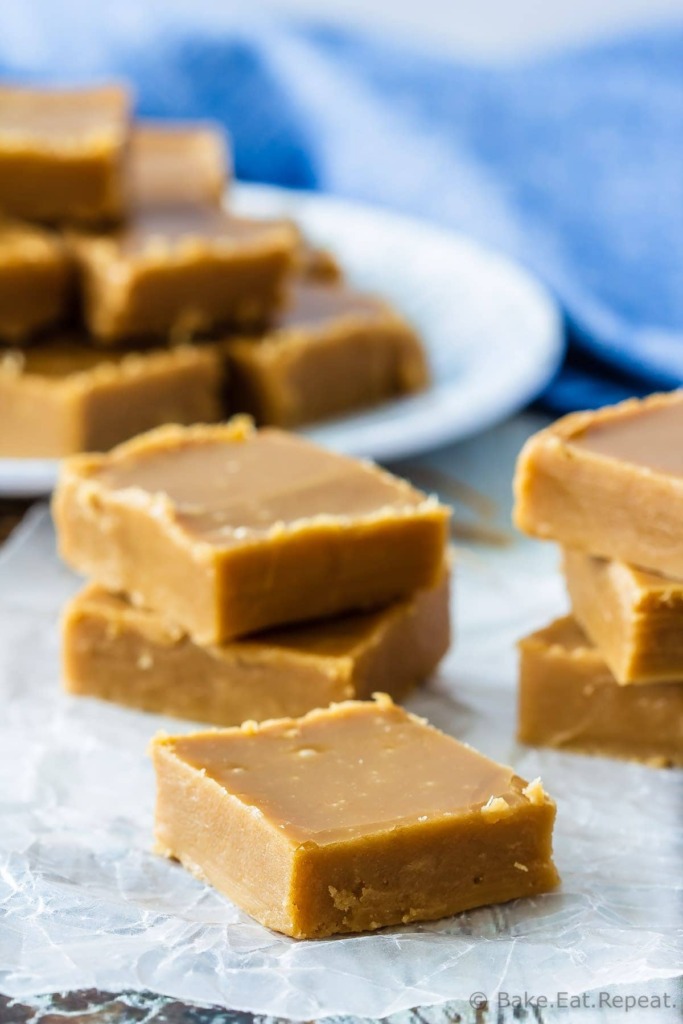
This easy to make brown sugar fudge has just a few simple ingredients. It makes the perfect no bake treat for the holidays!

I’ve never really been a fudge person. It’s really just a little too sweet for me. Kind of like icing – I just don’t really like it all that much.
I’ll have a little taste….but that’s enough. Most people seem to love the stuff though.
So this year I decided to add brown sugar fudge to my list of Christmas treats to make.

This recipe for brown sugar fudge is the one my mom has made for years.
She likes fudge. So does the rest of my family.
My kids just had it for (I think) the first time ever (I know, so deprived). Evidently they like it too.
I’m the only crazy person, apparently.

But, even though I don’t eat it, or make it all that often, this recipe has been thoroughly tested and approved by people that do!
And my kids are definitely happy that I’ve added brown sugar fudge to the line-up of available Christmas treats this year.
Because according to them, this creamy sweet, brown sugar fudge is pretty much the best thing ever.

How to make Brown Sugar Fudge:
- This fudge is made with just five ingredients. You boil the cream, brown sugar, and salt until it reaches the soft ball stage (234-240 degrees F), and then stir in the butter and vanilla and beat the mixture until it thickens. The whole process takes about 15-20 minutes total.
- You don’t need to stir the fudge constantly while it’s boiling, but keep an eye on it and give it a stir every minute or so once it comes to a soft boil.
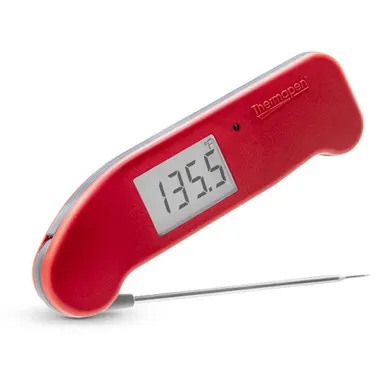
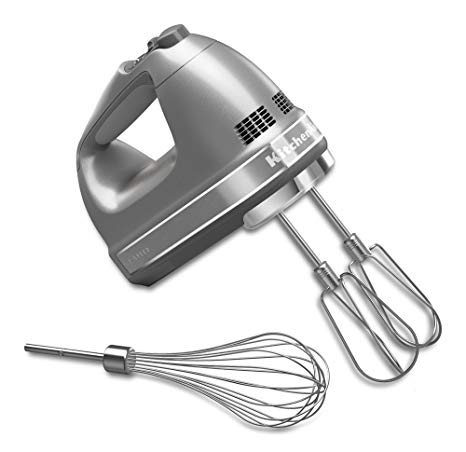
- The easiest way to know when the fudge is ready is to use a candy thermometer. I absolutely love this one, that’s built right into a silicone spatula, so it’s very easy to use. The regular kind that clip onto the side of the pot don’t work for me as my pots have a lip on the rim so the thermometer won’t clip on and sit straight down the side of the pot. If you have the same problem, this spatula candy thermometer is the way to go!
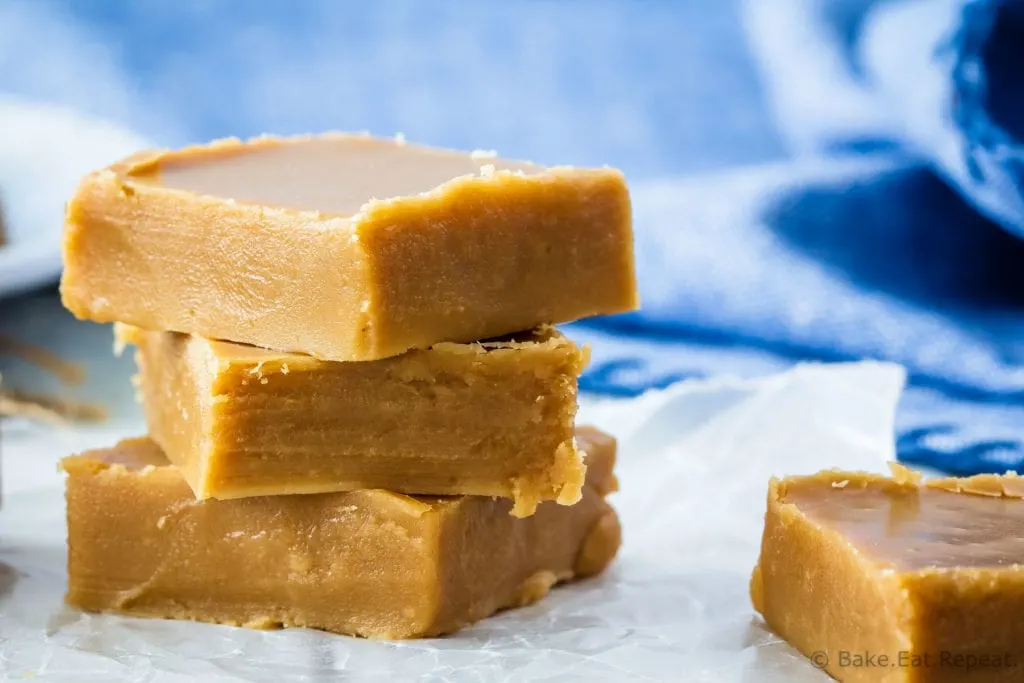
- When beating the brown sugar fudge with an electric mixer, it will continue to thicken the longer you beat it. I wanted the fudge to be on the softer side, so I beat the mixture for about 4 minutes on low speed, just until it started to thicken up. If you want your fudge to be harder, beat it a little longer before spreading it in the pan.
Here are some more great treats for the holidays for you:
- Cinnamon Sugar Almonds
- Easy Caramel Corn
- Salted Caramel Sauce
- 21 Christmas Treats that Aren’t Cookies
- Hot Chocolate Brownies

Brown Sugar Fudge

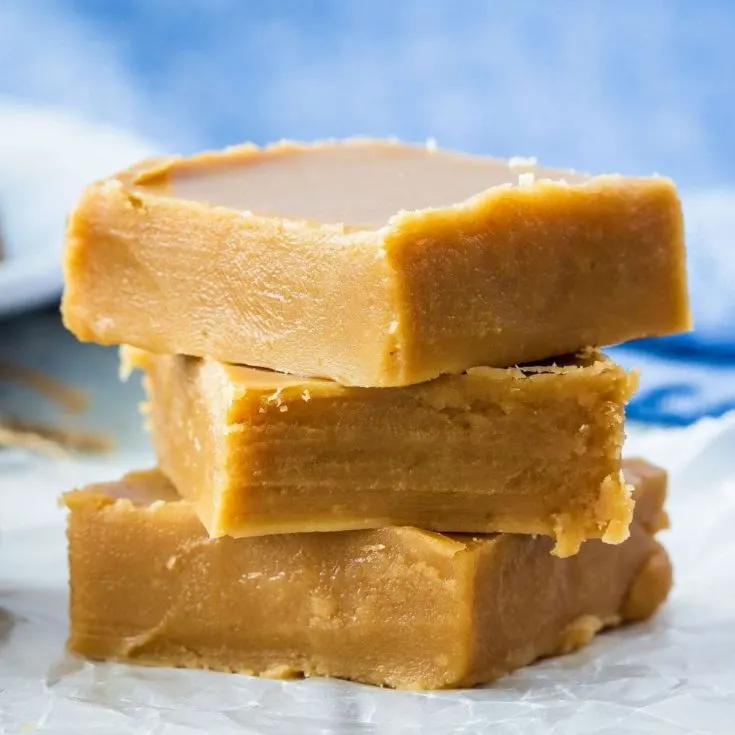
This easy to make brown sugar fudge has just a few simple ingredients. It makes the perfect no bake treat for the holidays!
Ingredients
- 1 cup heavy cream (35% whipping cream)
- 2 cups light brown sugar, lightly packed
- 1/4 teaspoon salt
- 2 tablespoons unsalted butter
- 1 teaspoon vanilla
Instructions
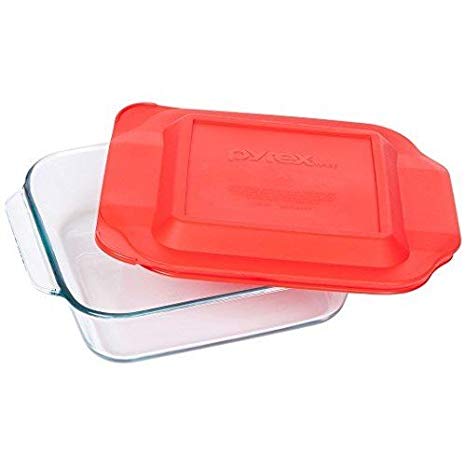
- Butter an 8x8 inch baking dish and set aside.
- In a large saucepan, over medium heat, combine the cream, brown sugar, and salt.
- Bring to a boil, stirring often, and continue boiling until the candy comes to the soft ball stage.
- If you’re using a candy thermometer, this is between 234-240 degrees F (112.2-115.6 degrees C). If you don’t have a candy thermometer, you can drop a teaspoon of the candy into very cold water - it will form a soft ball which flattens on removal from the water when it has reached this stage.
- The fudge will need to boil for 10-15 minutes to reach the soft ball stage.
- Once the mixture has reached the right temperature, remove the pan from the heat and stir in the butter and vanilla. It will bubble up a bit so be careful.
- With an electric mixer, on low speed, beat the fudge for 4-6 minutes, or until it has thickened and is smooth and creamy. The longer you beat it, the thicker it will be, so don’t beat for too long if you want soft fudge, beat just until it has thickened (about 4 minutes).
- Pour the fudge into the prepared baking dish and smooth the top. Let it cool completely and then cut it into squares.
- Store the fudge in an airtight container at room temperature for one to two weeks, or freeze it for up to 3 months.
Notes
Source: Adapted from the Women of Unifarm Cook Book.
Recommended Products
This post contains affiliate links from Amazon and ThermoWorks. As an Amazon Associate, I may receive a small commission from qualifying purchases.


Nutrition Information:
Yield:
36Serving Size:
1 pieceAmount Per Serving: Calories: 67Total Fat: 3gSaturated Fat: 2gTrans Fat: 0gUnsaturated Fat: 1gCholesterol: 9mgSodium: 19mgCarbohydrates: 10gFiber: 0gSugar: 10gProtein: 0g
Nutrition Information is estimated based on ingredients used.
Terry
Saturday 23rd of December 2023
Could I use sweetened condensed milk instead of the 35% cream?
Stacey
Saturday 23rd of December 2023
I haven’t tried that so I don’t know, but I don’t think that it would turn out the same.
Sarah
Saturday 3rd of December 2022
Hi, I'd love to try this but I thought one was supposed to let the mixture cool before beating it at the end? I notice this recipe says to beat it right away once it reaches the soft stage temperature. Could you let me know! Thank-you
Stacey
Monday 5th of December 2022
You remove it from the heat before adding the butter and vanilla. But once the butter has been stirred into the fudge, you beat it right away. I never let it cool first, it cools and thickens as you beat it, and then cools completely in the pan.
Mary
Friday 24th of September 2021
Hi I want to make this but I have a question. Can I reduce the sugar a little (1 and half cup instead of 2 cups)? Or will it ruin the recipe?
Thank you for sharing this awesome recipe with us btw!
Mary
Sunday 10th of October 2021
@Stacey, Just wanted to say thank you! This fudge is the best I've ever had! My family loved it. I stuck to the recipe exactly and it came out perfect.
Stacey
Monday 27th of September 2021
I think that it would ruin the recipe if you reduced the sugar. I haven't tried it, but I don't think that it would be the right consistency if you changed the amount of one ingredient and not all of them.
Tui
Tuesday 22nd of December 2020
I just tried making this (never made fudge before). I reached over 240F before boiling for 10 minutes so I wasn't sure what to do - keep boiling or take it off the heat? It was about 9 minutes so I took it off the heat. I just poured it in the pan, and it looks like a very thin layer of fudge, which is a bit disappointing. I think it will turn out ok otherwise.
Stacey
Wednesday 23rd of December 2020
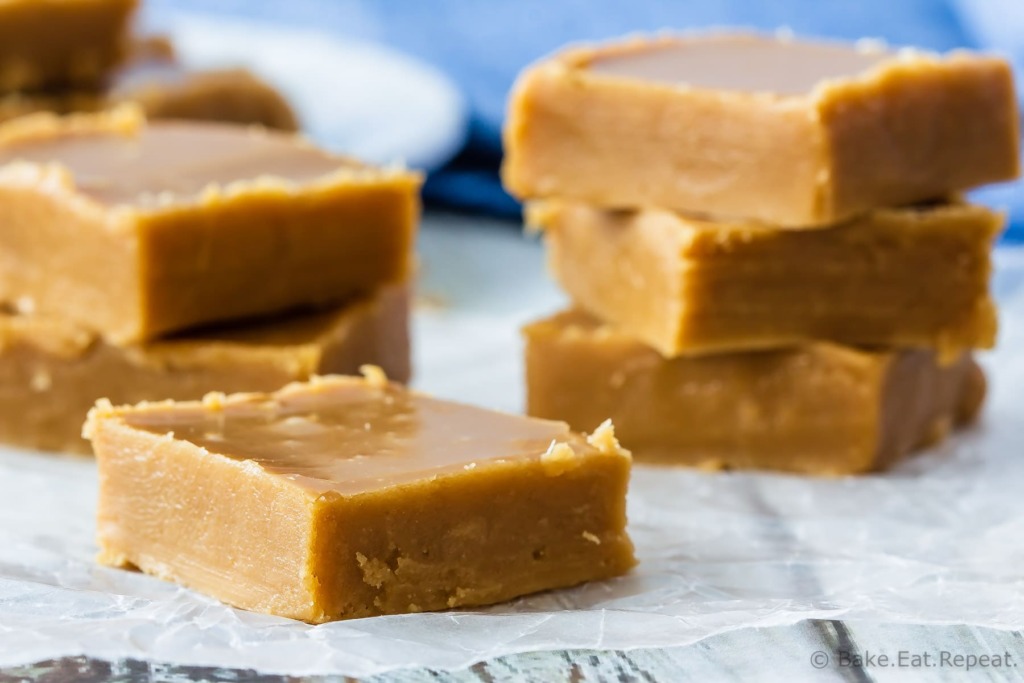
I'm surprised it reached 240F that quickly, it always takes more than 10 minutes for me, but the temperature is the important thing. If you keep cooking to a higher temperature it will go past the soft ball stage and you'll end up with harder candy instead of soft fudge. It is a thinner fudge, about 1 cm thick, like the photos show. It's not super thick fudge.
Kath
Thursday 7th of May 2020
My mother taught me the secrets to making fudge over half a century ago. One is to never stir it after it has started boiling or it will crystallize and be sugary in texture, not smooth. The idea is to stir constantly until the boiling point is reached, then leave it untouched until soft ball stage is reached. The trick is to find a temperature at which it boils but does not burn or stick to the bottom of the pan. I always used a similar recipe to yours, from my mother's wartime cookbook (WWII), the only difference being it called for "top milk", which was actually the cream that floated to the top of the bottle of milk. Over a lifetime of fudge-making, I could never adapt to using a candy thermometer. Soft ball stage is when a half teaspoon full of the boiling fudge forms a soft ball when dropped into a glass of cold water. The soft ball should float awhile, then sink.
Nonnie
Tuesday 27th of September 2022
@Kath, My mother taught me the same! Never stir it while it is boiling and the glass of cold water drop test. Then take it off the heat and beat it with a wooden spoon on thick. I use an electric mixer now. The only difference between your way and mom's way was the cream. We never had 'top cream' but canned evaporated milk.