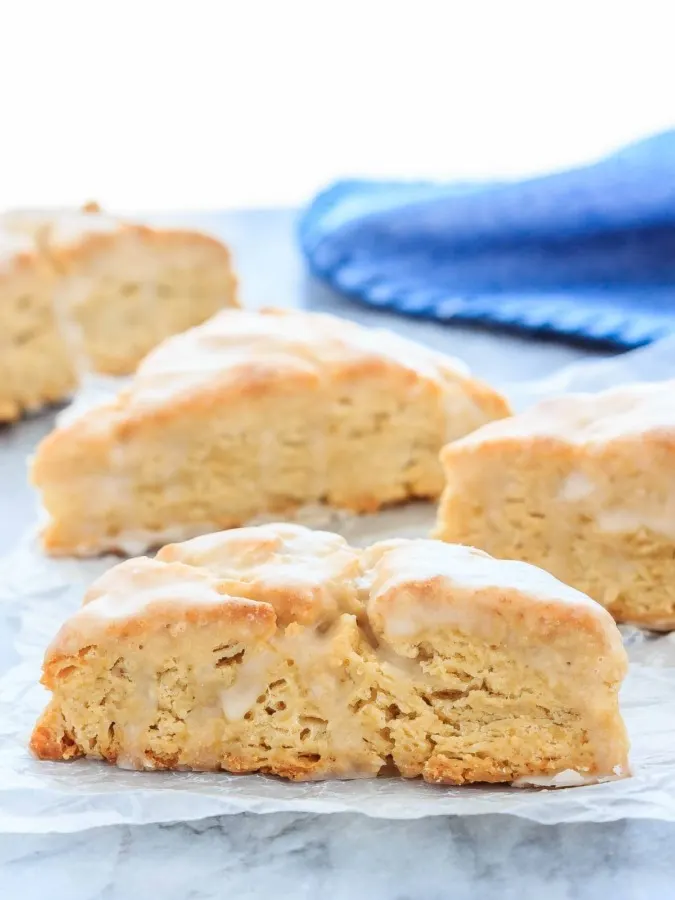
These easy to make vanilla scones are tender, buttery, and filled with vanilla flavour. The perfect treat to have with your morning coffee or tea!
I think scones are my favourite kind of breakfast. Although really, how did scones ever become a normal thing to eat for breakfast?
Let’s start our day with a buttery pastry covered in a sugary glaze. That’s super healthy.
But you know what? I’m kind of on board with it. Have some yogurt or a hard boiled egg with your vanilla scone. It’s all good.
Or call it morning coffee break instead of breakfast. Then it’s definitely okay, right? I think so.
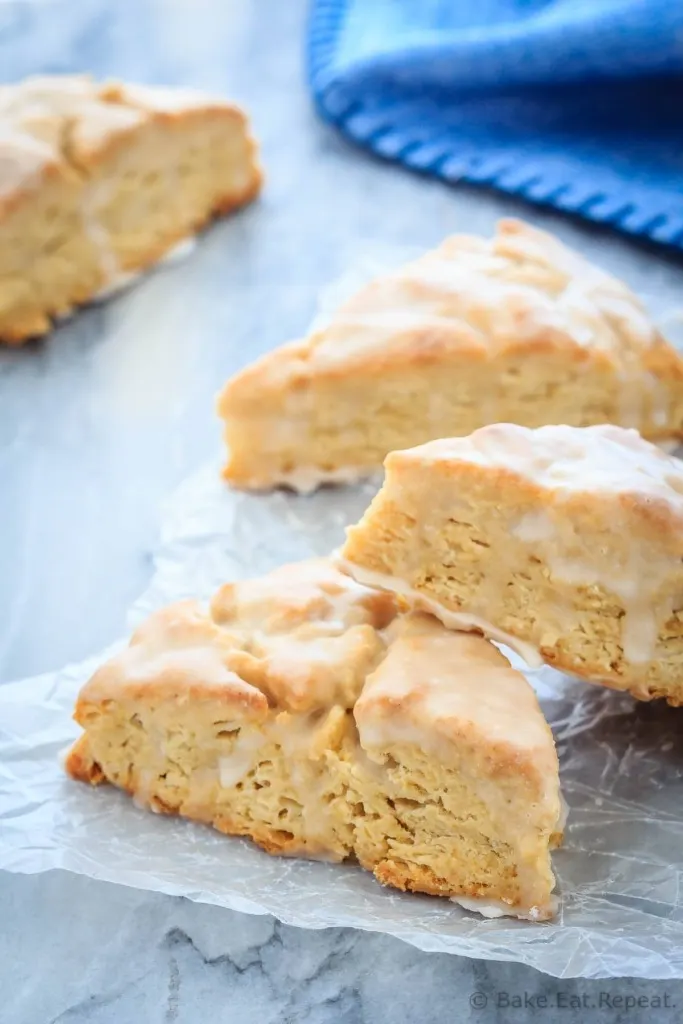
At any rate, whatever you think of scones as a reasonable breakfast food, you will enjoy these vanilla scones at some point during your day.
Flakey, buttery, tender and delicious vanilla scones that are really easy to make.
Definitely one of my favourite ways to start the day. Alongside my coffee of course.
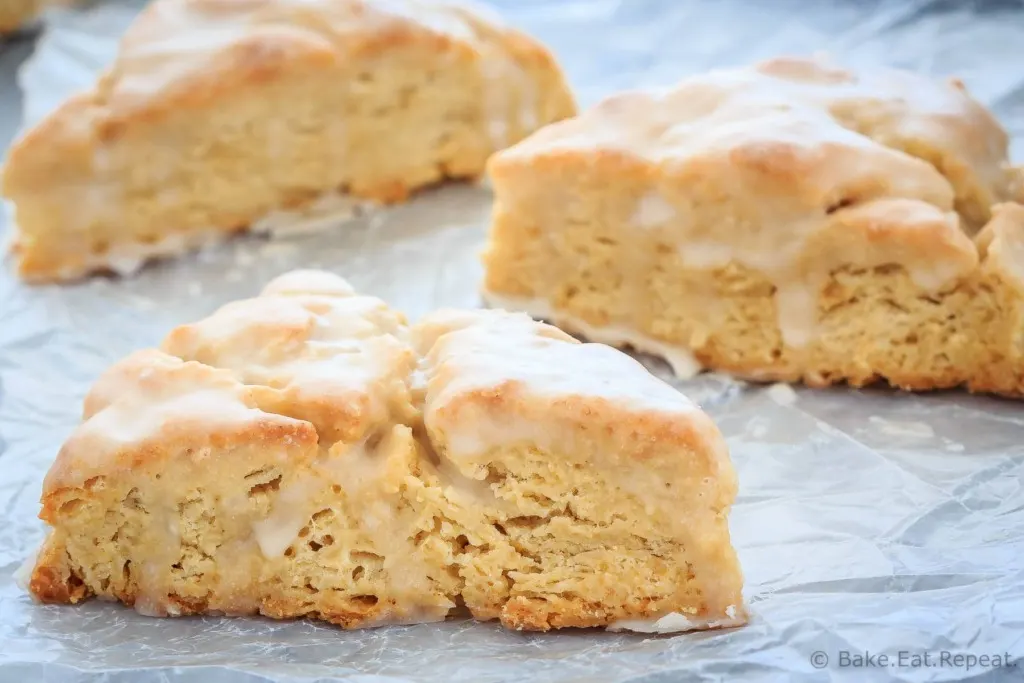
Should scones be crumbly?
The dough for scones should be crumbly after you mix it. When you make scones, you add just enough liquid to hold the dough together.
Don’t be concerned when you stir in the liquid and it still just looks like a crumbly, floury mess in your bowl.
That’s how it should look. If you add more liquid to make it come together by stirring then your scones will be tough.
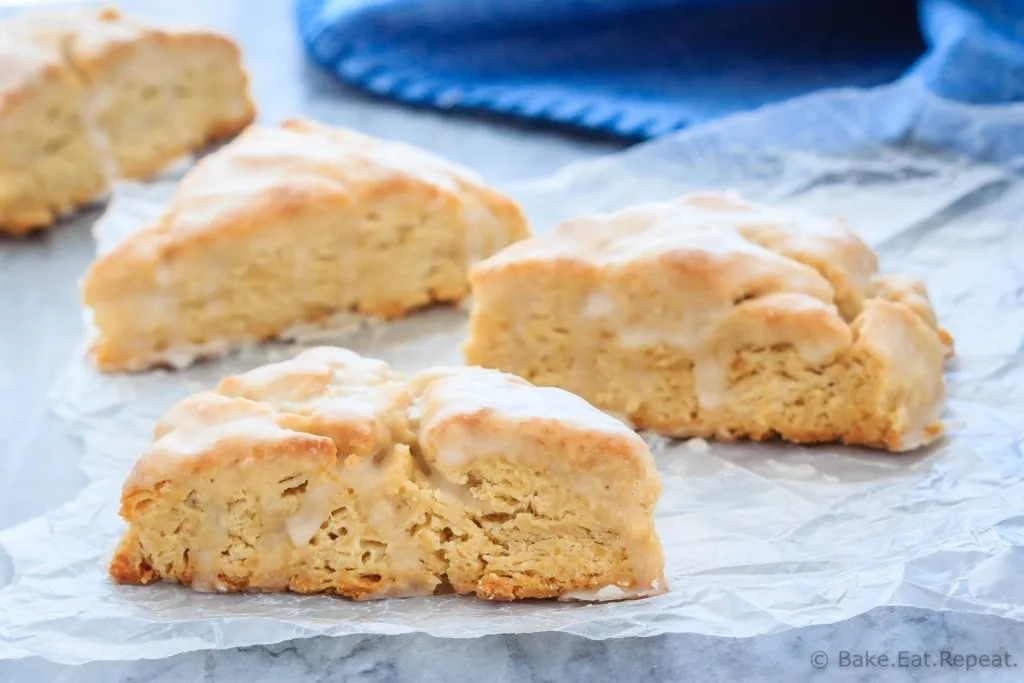
The trick to perfect scones is to let the mixture be crumbly. Stir it just until it starts to clump together a bit and most of the flour looks moistened.
Then use your hands to knead it just a little bit in the bowl and bring most of the dough together, but try not to over-work it.
Then dump everything onto a baking sheet and press it all together into a flat disc.
It won’t matter that there are still floury bits that don’t look mixed in. It works when you bake it, I promise!
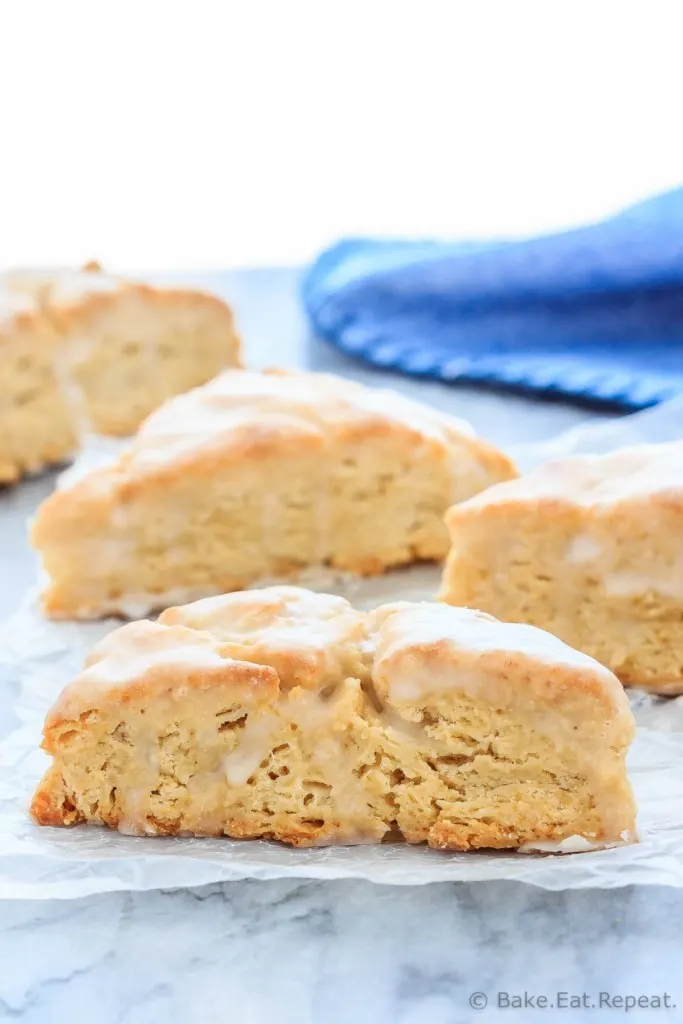
Can you freeze scones?
Yes! I freeze scones all the time. They freeze beautifully.
Let them cool completely after baking, and if you are adding a glaze let it harden completely.
Then store them in a ziplock bag or an airtight container with wax paper in between the layers to keep them from sticking together. Freeze for up to 3 months.

How to make Vanilla Scones:
- If you don’t want to grate your butter, you can use a pastry cutter or two knives to cut the butter into the flour mixture instead. This works just as well, I just find that grating the butter is faster and easier, and it helps keep the butter cold which is important when making scones.
- Make sure to put the scones in the freezer for 15-20 minutes before baking them. Making sure all the ingredients are cold before baking helps the scones to rise better and they end up being flakier then they are if the dough is too warm.
- When you cut the scones into wedges, make sure to use a sharp knife and press straight down. If you twist or saw through the dough it will seal the edges and the scones won’t rise as well.
Here are some more great scone recipes for you:
Vanilla Scones
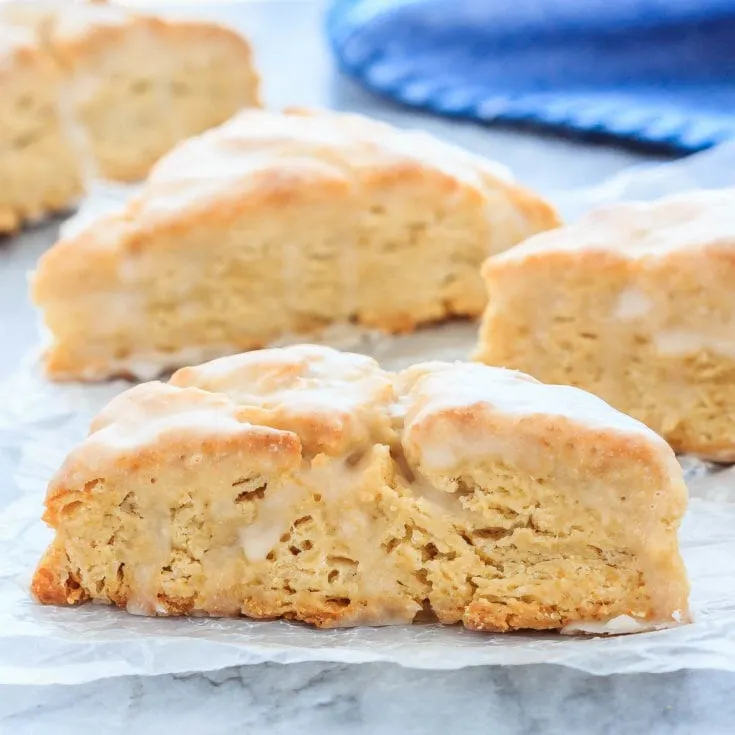
These easy to make vanilla scones are tender, buttery, and filled with vanilla flavour. The perfect treat to have with your morning coffee or tea!
Ingredients
For the Scones:
- 3/4 cup Unsalted Butter, (cold)
- 2 large Eggs
- 3/4 cup Heavy Cream, (35% whipping cream)
- 1 tablespoon Pure Vanilla Extract
- 3 cups All-Purpose Flour
- 1/2 cup Brown Sugar, lightly packed
- 1 1/2 tablespoons Baking Powder
- 1/2 teaspoon Salt
For the Glaze:
- 1 1/4 cups Powdered Sugar
- 1/4 teaspoon Pure Vanilla Extract
- 2-3 tablespoons Milk
Instructions
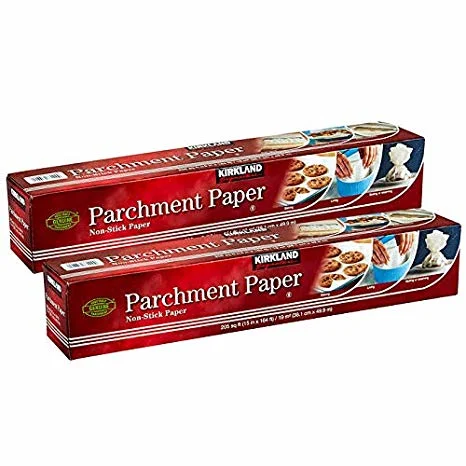
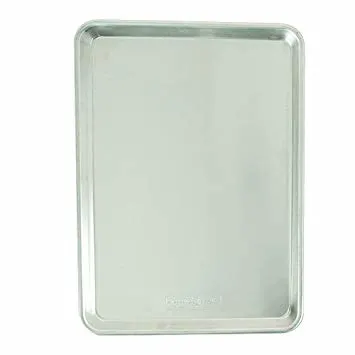
- Line a baking sheet with parchment paper, or a non-stick silicone mat and set aside.
- Grate the butter and place it in the freezer so it is very cold when you add it to the scones.
- In a small bowl, whisk together the eggs, cream, and vanilla until well combined. Set aside.
- In a large bowl, combine the flour, brown sugar, baking powder, and salt. Add the frozen, grated butter, and toss until the butter is coated in the flour mixture.
- Add the egg mixture to the dry ingredients and stir until it just starts to come together. Knead the dough lightly in the bowl to bring everything together into a ball, but try not to over-work the dough.
- Transfer the dough to the prepared baking sheet and form it into two 6-inch circles.
- Place the dough in the freezer to chill for 20 minutes, and preheat the oven to 425°F.
- Take the dough from the freezer and cut each circle into 8 wedges with a sharp knife. Spread the pieces out a bit if you like. If you prefer the edges of your scones to stay soft, you can left them together. Spreading them out gives you crisper edges.
- Bake the scones for 13-14 minutes, or until they are lightly browned. Remove to a wire rack to cool.
- Whisk together the powdered sugar, vanilla, and milk.
- Dip the cooled scones in the glaze, allowing the excess to drip off, or drizzle the glaze over top of the scones. Allow the glaze to harden.
- Store in an airtight container at room temperature for 3-5 days, or freeze for up to 3 months.
Recommended Products
This post contains affiliate links. As an Amazon Associate, I may receive a small commission from qualifying purchases.
Nutrition Information:
Yield:
16Serving Size:
1 sconeAmount Per Serving: Calories: 268Total Fat: 14gSaturated Fat: 8gTrans Fat: 0gUnsaturated Fat: 4gCholesterol: 59mgSodium: 220mgCarbohydrates: 33gFiber: 1gSugar: 14gProtein: 4g
Nutrition Information is estimated based on ingredients used and may not be exact.
I’ve also shared this Vanilla Scones recipe over on Food Fanatic.



SIMONE
Tuesday 21st of June 2022
Delicious and easy. Thanks, made them twice with great success
Ken
Saturday 19th of March 2022
Tried this recipe yesterday and the scones are Fantastic! Also, the glaze is a perfect compliment and adds a welcome touch of decadence. Thanks so much much for this recipe.