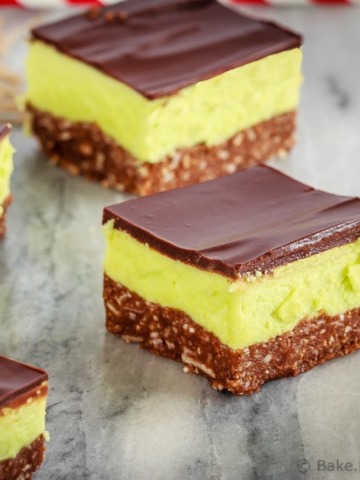

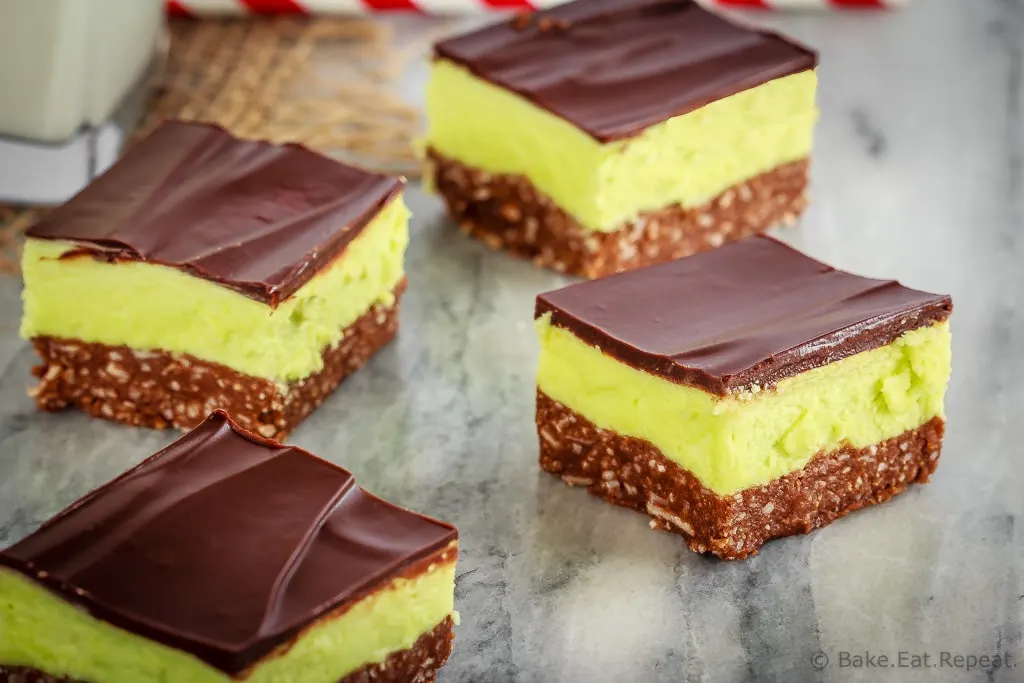
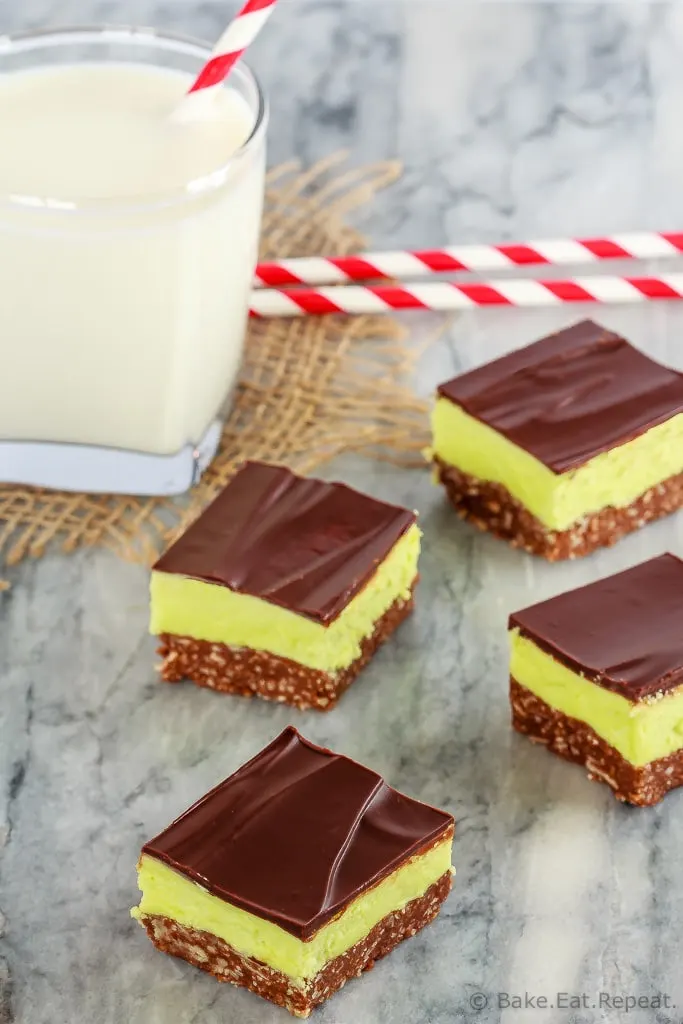
These mint Nanaimo bars are an easy to make, no bake treat, that is perfect for your Christmas cookie tray. The perfect dessert with a cold glass of milk!

Disclosure: This post has been sponsored by Dairy Farmers of Canada and I have been compensated for my time. All opinions are, as always, my own.
Some things just need to be part of the Christmas baking list every single year. Without fail.
Now, my list of must haves is starting to get just a little astronomical (anyone want some baking?), but even so there are a few things that will never get left out – even when I want to try something new.


Whipped shortbread needs to be made every single year. So do Nanaimo bars. Always. Those two treats are just synonymous with Christmas at my house – it doesn’t completely feel like the holidays are here if there aren’t Nanaimo bars on the plate of cookies that’s set out on Christmas Eve.
But now I’m going to have trouble choosing between my favourite regular Nanaimo bars and these new mint Nanaimo bars. They’re both so tasty, but nobody needs two pans of Nanaimo bars in their freezer to tempt them. Especially not if you love them as much as I do.

This year, it’s mint Nanaimo bars that are going to be on the plate of cookies we leave out for Santa. Assuming we still do that little tradition, of course. My youngest son figured it out a couple of weeks ago – and even though he’s in grade one and it’s not really a surprise, it’s still slightly disappointing that that fun little game of leaving cookies and milk out for Santa won’t be “real” anymore for any of my kids.
I think he’ll probably still want to leave the cookies and milk out though – he still likes the idea of Santa. He loved this cute little holiday video with Santa that Dairy Farmers of Canada made – he insisted on watching it over and over again until he could sing along with the whole thing. If you have kids, you need to watch this video with them – it’s so cute, and my older two loved it as well!
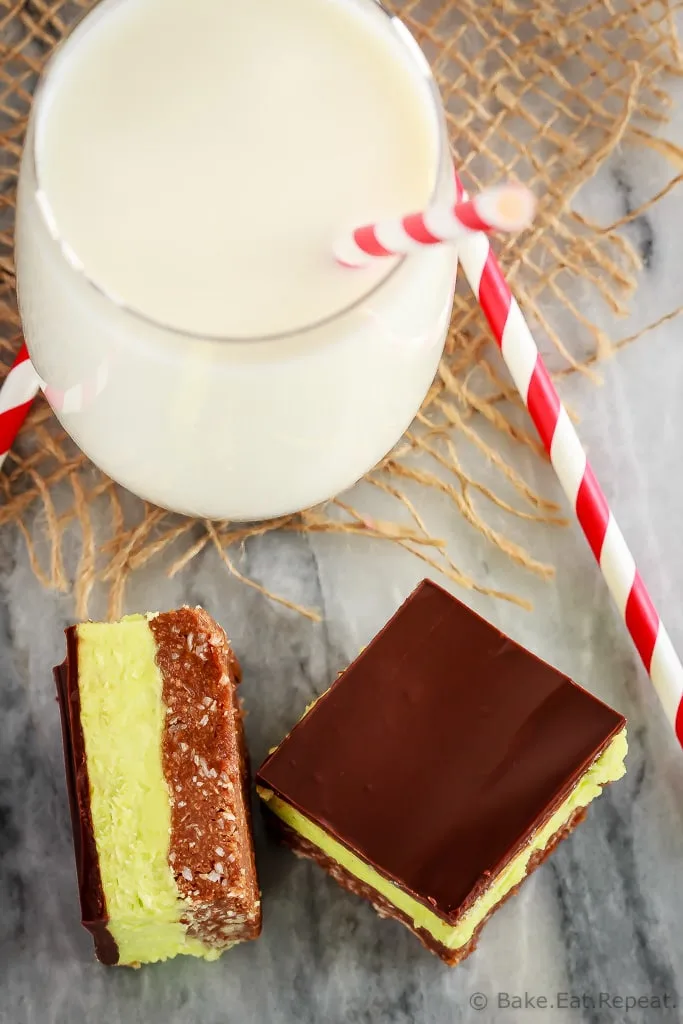
We go through a lot of milk here, but never more so than at Christmas time. I use it in a lot of my baking (including these mint Nanaimo bars), my kids drink it by the gallon, I love it in my coffee – and Christmas cookies for dessert in the evening are just so much better with a nice cold glass of milk alongside.
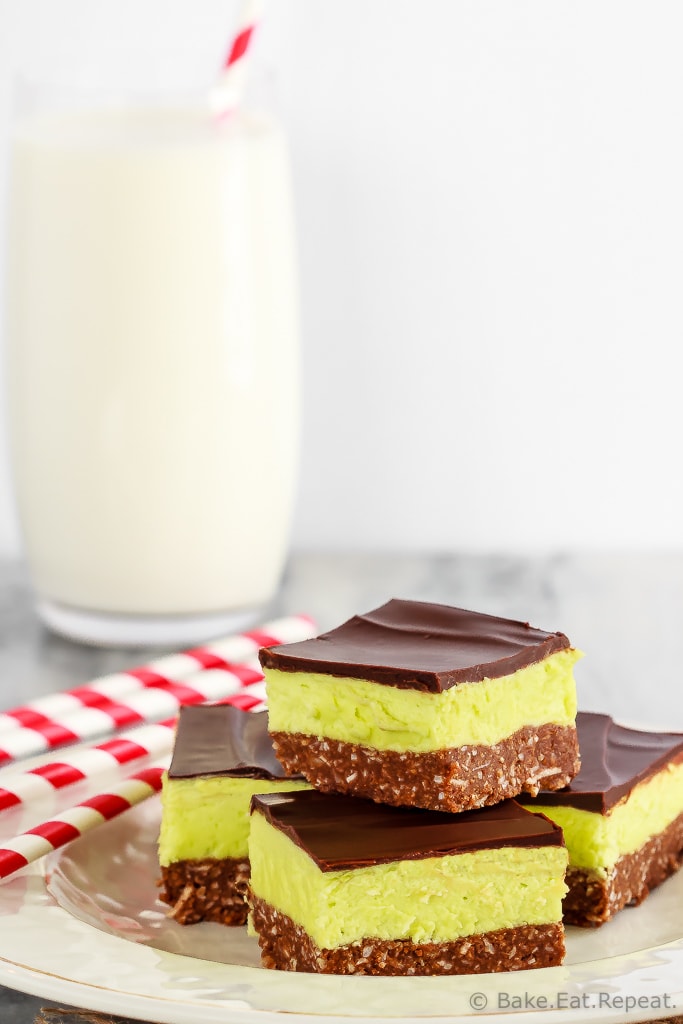

I’m already looking forward to the mint Nanaimo bars and a big glass of milk that my kids will set out for Santa in a couple of weeks. I suppose if they don’t feel the need this year I’ll just have to do it myself so that I can have the usual Christmas Eve dessert after the kids are in bed. After all, it wouldn’t be Christmas without it!

Tips for perfect Mint Nanaimo Bars:
- Make sure to chill each layer for at least 20 minutes before adding the next one – it is much easier to spread the filling on a chilled base, and the chocolate glaze on chilled filling
- If your chocolate topping is cracking a lot when you cut the bars, you can prevent that by running the knife under hot water and then drying it off in between cuts
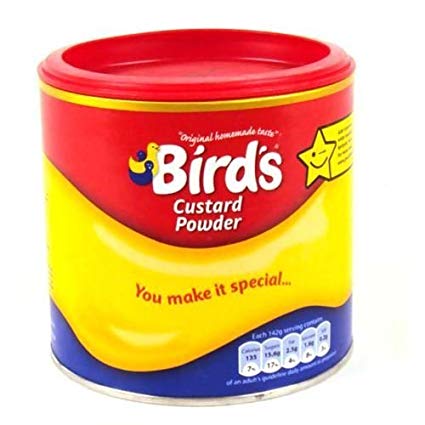
- I can get custard powder at any grocery store here in the baking aisle, but it can be tough to find in some places – if you’re having trouble finding it, check the international aisle at your grocery store, or you can get it online – this is the custard powder I use
- This recipe halves quite well made in an 8×8-inch baking pan instead – if a 9×13-inch pan is too many Nanaimo bars for you
- Here are a few more great recipes for you that pair perfectly with a glass of milk: Butter Tarts, Salted Caramel Pretzel Bark, and Chewy Chocolate Mint Chip Cookies
Mint Nanaimo Bars
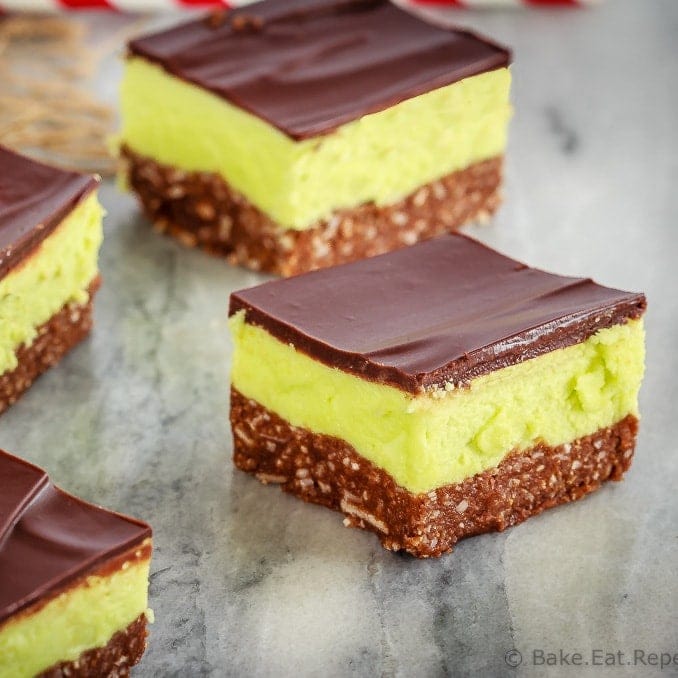
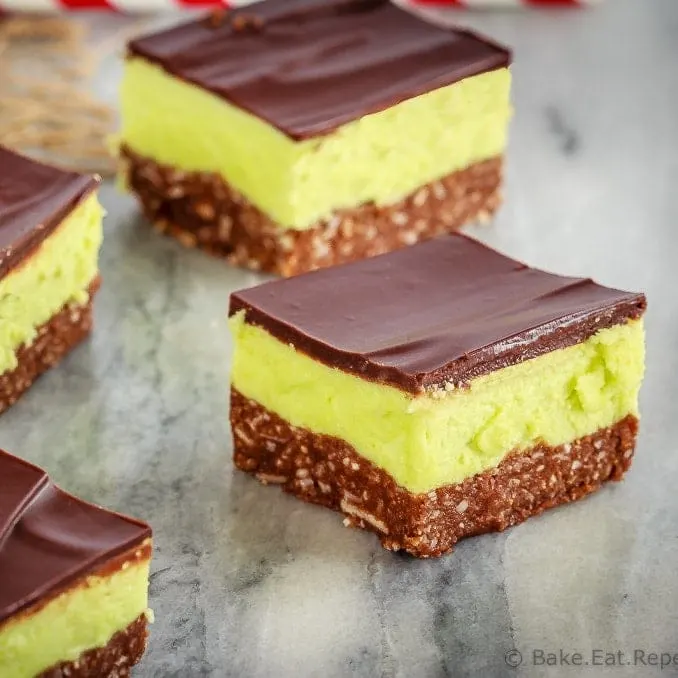
These mint Nanaimo bars are an easy to make, no bake treat that is perfect for your Christmas cookie tray. Perfect dessert with a big glass of milk!
Ingredients
For the base:
- 2 ounces (57g) semi-sweet chocolate
- 1/2 cup butter, softened
- 2 tablespoons granulated sugar
- 1 teaspoon vanilla
- 4 tablespoons pasteurized egg whites
- 2 cups graham wafer crumbs
- 1 cup unsweetened coconut
For the filling:
- 1/2 cup butter
- 4 cups powdered sugar
- 4 tablespoons custard powder
- 6 tablespoons milk (I use 2%)
- 2 teaspoons peppermint extract
- 6-7 drops green food colouring (optional)
For the glaze
- 4 ounces (114g) semi-sweet chocolate
- 4 tablespoons butter
Instructions
- Place the 2 ounces of chocolate for the base in a medium microwave safe bowl and microwave for 2-3 minutes at 50% power, stirring every 30 seconds, until the chocolate is almost melted. Continue to stir until it is completely melted.
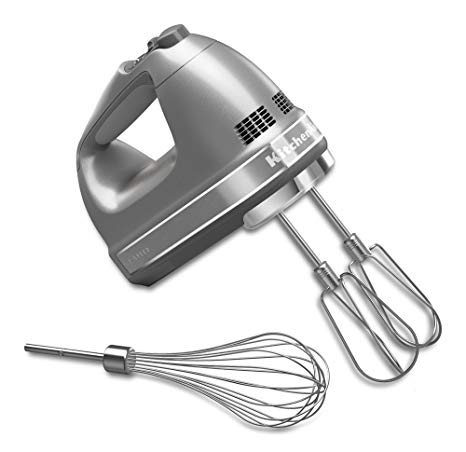
- Cream the butter in a large bowl with an electric mixer until smooth.
- Add the melted chocolate, sugar, vanilla and egg whites and beat until combined.
- Stir in the graham wafer crumbs and unsweetened coconut.
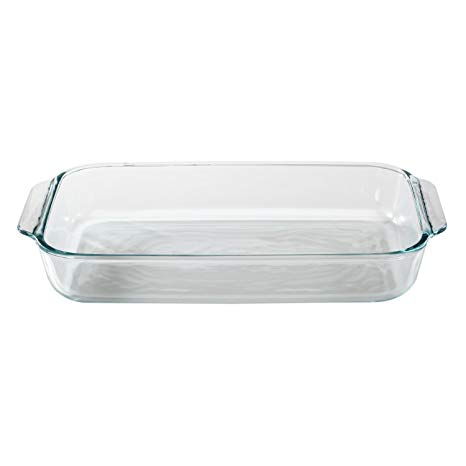
- Press into a 9x13 inch pan and chill for 20 minutes.
- Cream the butter for the filling in a large bowl with an electric mixer.
- Add the powdered sugar, custard powder, milk, and peppermint extract and beat with an electric mixer until smooth.
- Add a few drops of green food colouring (if using) and mix again. Spread the filling evenly over the chilled base.
- Chill for another 15-20 minutes.
- In a microwave safe bowl, place the 4 ounces of semi-sweet chocolate and the butter and heat at 50% power for 2-3 minutes, stirring every 30 seconds until the chocolate is almost melted. Continue stirring until it is completely melted.
- Spread evenly over the chilled custard layer.
- Chill for several hours or overnight.
- Cut into bars and store covered in the refrigerator for a week, or remove from the pan and freeze in an airtight container for up to 6 months.
Notes
I’ve used both unsalted and salted butter for these and both are fine, so use your preference. I use baking chocolate for both the base and the glaze. You could certainly use chocolate chips instead, but I wouldn’t recommend it as they don’t melt as well as chopped baking chocolate does.
The original recipe uses one whole large egg in the base, rather than pasteurized egg whites - so you can change that if you like, although I don’t find any difference in taste or texture with either, so I prefer to go with the pasteurized whites as the bars aren’t baked at all.
Source: Slightly adapted from my favourite Nanaimo Bars recipe.
Recommended Products
This post contains affiliate links. As an Amazon Associate, I may receive a small commission from qualifying purchases.


Nutrition Information:
Yield:
36Serving Size:
1 barAmount Per Serving: Calories: 175Total Fat: 10gSaturated Fat: 6gTrans Fat: 0gUnsaturated Fat: 3gCholesterol: 18mgSodium: 83mgCarbohydrates: 21gFiber: 1gSugar: 17gProtein: 1g
Nutrition Information is estimated based on ingredients used and may not be exact.
Ivan Kirsch
Thursday 9th of December 2021
I tried your recipe for Mint Nanaimo Bars. I have never seen a recipe that had melted chocolate as an ingredient in the crust. The recipe turned out great and tastes delicious. I particularly want mint Nanaimo Bars for Christmas. I also appreciated the tip for warming the knife when cutting into bars so the chocolate coating doesn't break up.
Stacey
Friday 10th of December 2021
So glad you liked them!