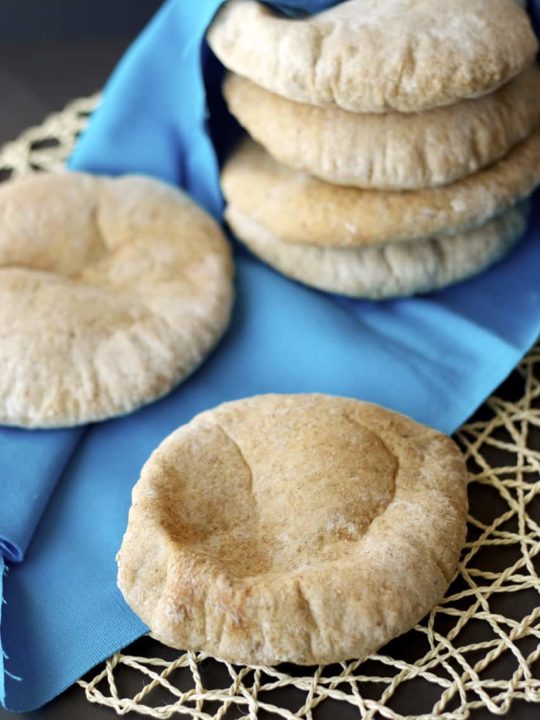

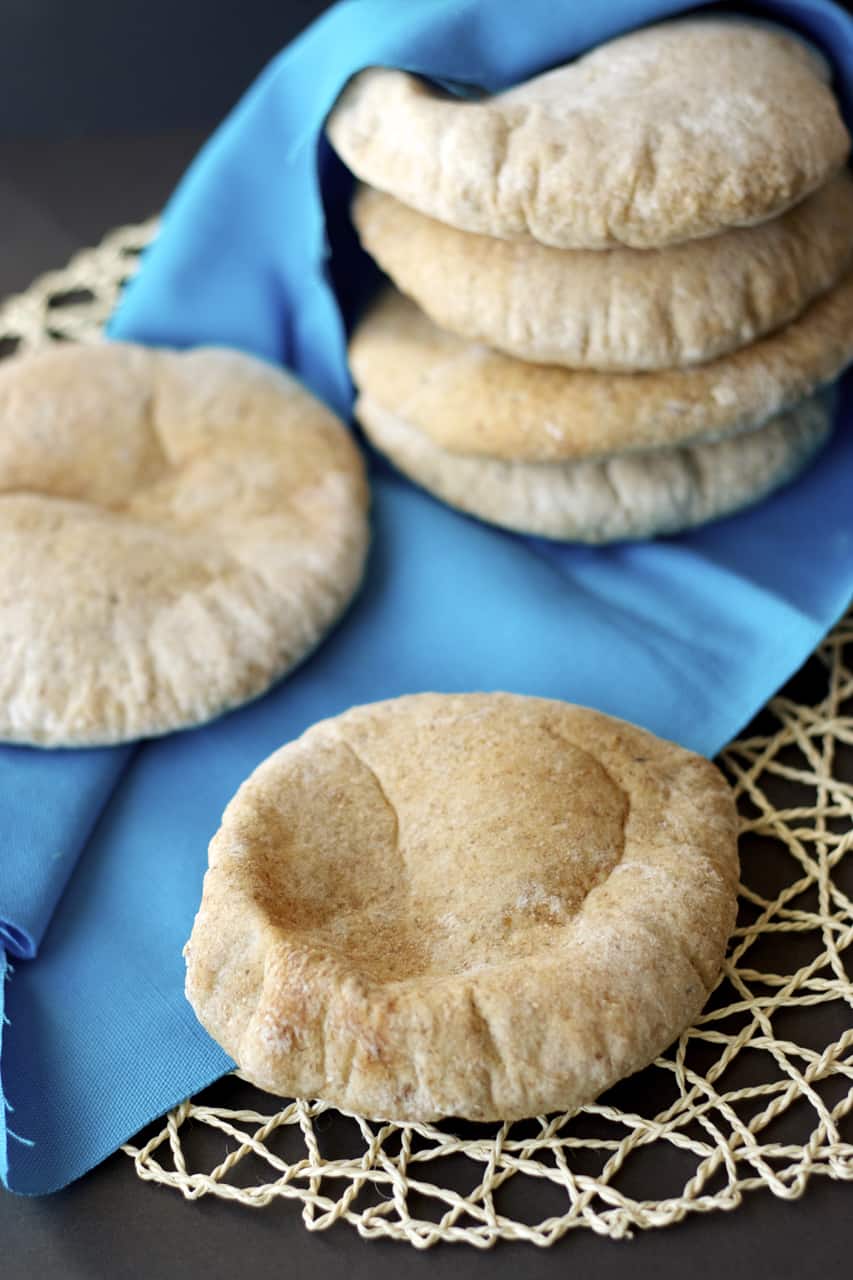
Homemade whole grain breakfast pitas – perfect for a sandwich, or the way we like them – toasted with PB&J for breakfast!
For breakfast around our house, there is often at least one person making toast with peanut butter and jam. All of us love it. And quite a few lunches pan out that way too if I’m honest.
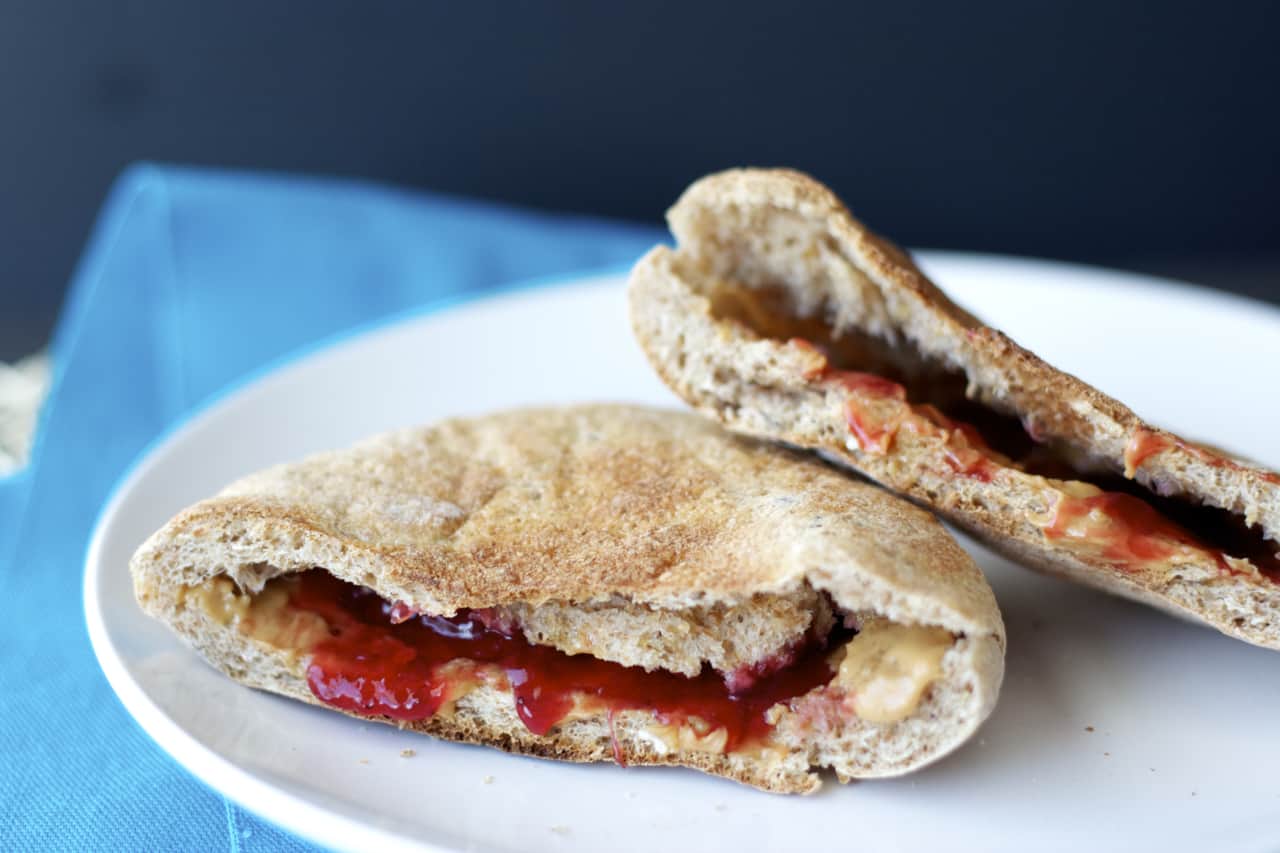
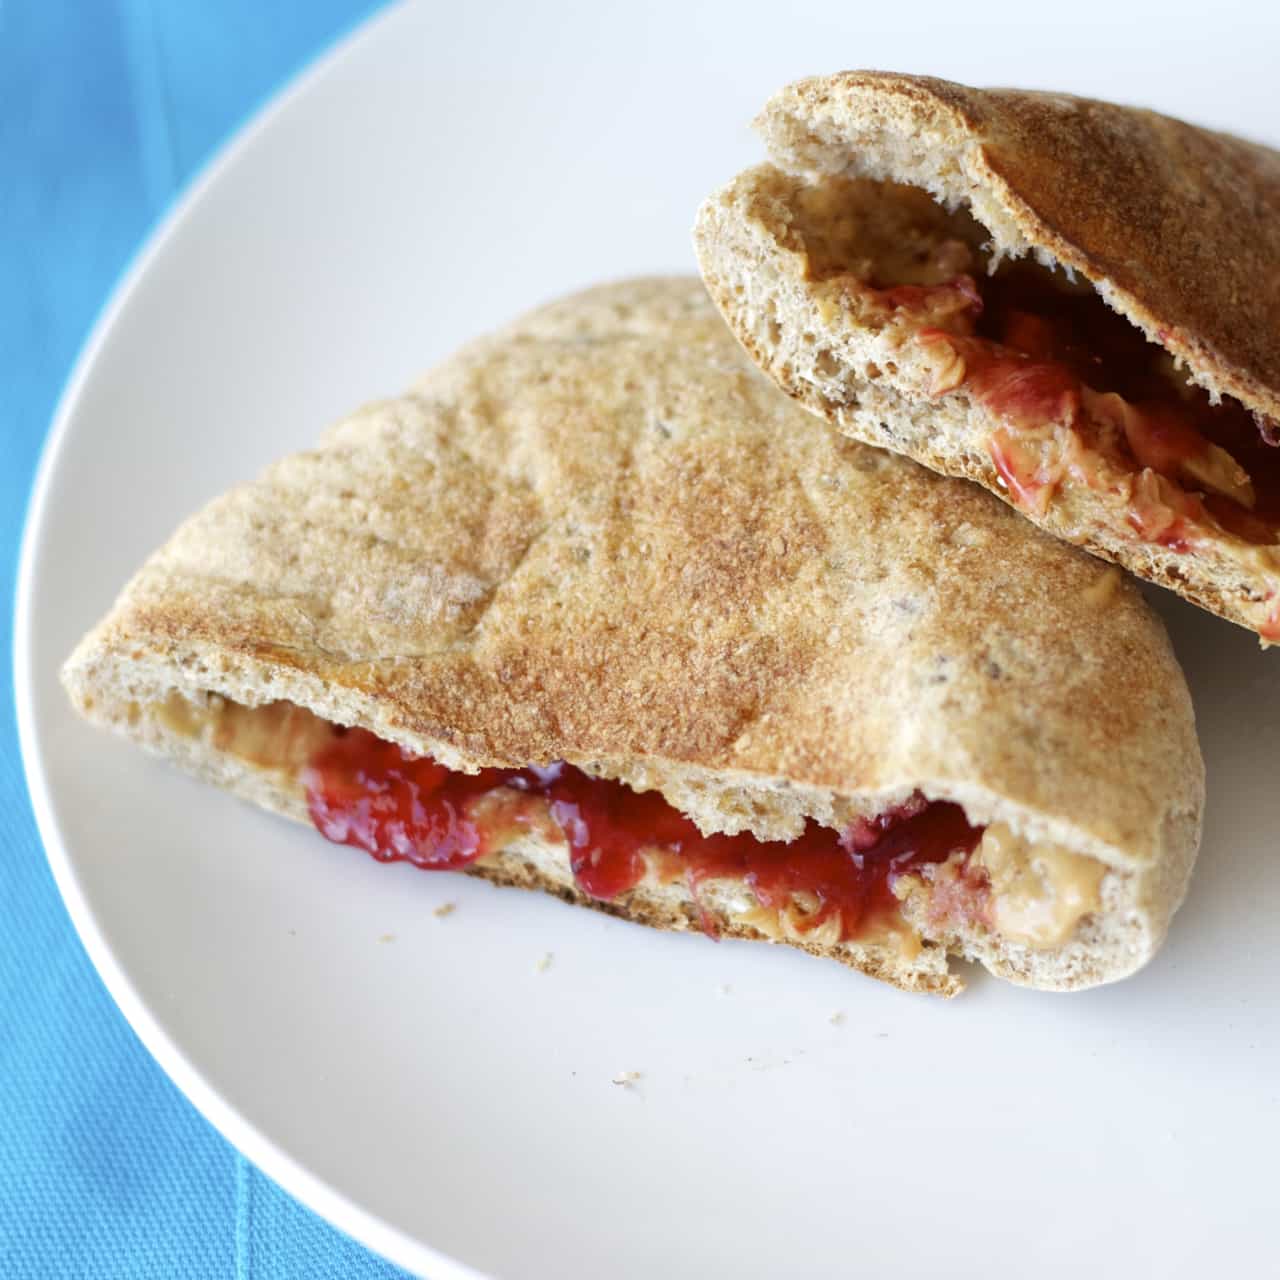
Ever since discovering the breakfast pitas made by Olafson’s, though, we haven’t loved plain old toast quite as much. Those breakfast pitas, toasted and filled with melty peanut butter and jam, are just so much better. Those things are amazing.
So, of course, I needed to figure out a way to make them. Cause we were going through those packages way too quickly.
And it seemed silly to be buying these things all the time, when I make most of our other bread already. But I couldn’t find a recipe that seemed similar. And never got around to playing with it much.

Well, I finally spent some time working on a recipe for these things, and I’m so glad I did. It didn’t take too much tweaking, and these whole grain breakfast pitas are pretty close.
At any rate, they taste great, are filled with whole grain goodness, and toast up beautifully to fill with PB&J.
Mission accomplished.
When we first started buying these things, our oldest was only about 2, and referred to them as circle toast. For some reason the name stuck. When I called these breakfast pitas the other day, no one knew what I was talking about until I clarified with “circle toast”.
Not that you need to have them for breakfast. They’d make a perfectly good sandwich to fill with anything you’d put in a regular pita pocket. So don’t feel limited by my title! Use them any way you like.
But at our house, they are now, and will forever be, circle toast. And they’re delicious.
Whole Grain Breakfast Pitas


Homemade whole grain breakfast pitas - perfect for a sandwich, or the way we like them - toasted with PB&J for breakfast!
Ingredients
For the soaker:
- 3 tablespoons flax meal
- 3 tablespoons rolled oats
- 2 tablespoons wheat bran
- 1/4 cup water, room temperature
For the dough:
- 3 cups (13.5oz) whole wheat flour
- 1 1/2 teaspoons salt
- 1 tablespoon instant yeast
- 3 tablespoons (1oz) cooked quinoa
- 1 1/2 tablespoons (1oz) honey
- 1 tablespoon flax seed
- 1 1/2 cups (12oz) warm water
Instructions
Make the soaker:
- In a small bowl, combine the flax meal, rolled oats, wheat bran and water until everything is evenly moistened.
- Cover with plastic wrap, and allow it to sit at room temperature for at least an hour and up to overnight.
Make the dough:
- In a large bowl, or the bowl of a stand mixer with the dough hook attached, combine the soaker with all of the dough ingredients.
- Mix on low speed until the dough comes together and clears the sides of the bowl. If it’s too wet and isn’t clearing the sides of the bowl, add more flour, one or two tablespoons at a time until it clears the sides. If it’s really dry and isn’t tacky at all, with dry bits not coming together, then add more water a tablespoon at a time until it all comes together.
- Knead the dough for 8 to 10 minutes by machine, or 12 to 15 minutes by hand.
- Transfer the dough to a lightly oiled bowl, turning it to coat it with oil (it will be sticky) and cover the bowl tightly with plastic wrap.
- Let it rise until it has doubled, about 90 minutes.
Make the pitas:
- Preheat the oven to 500 degrees F.
- If you have a baking stone, place it in the oven to heat.
- Punch the dough down, and move it to a lightly floured surface.
- Divide the dough into 8-10 equal pieces (I don’t bother weighing, just eyeball it!) and let them rest, covered, for 10 minutes.
- Roll out each dough ball on a floured surface to a 6 inch circle.
- Let them rest on parchment paper for 5-10 minutes to puff up a bit.
- Slide the parchment onto the hot stone (or just use a baking sheet lined with parchment if you don’t have a stone) and bake for 8-10 minutes until they are puffed up and lightly browned.
- You can bake in batches, the others are fine resting for a little longer.
- Let them cool on a wire rack.
- Store them in a sealed plastic bag, making sure they are completely cooled before storing.
- These pitas are best the first couple days after baking, and then start to dry out fairly quickly, but can be frozen for up to 3 months. If you’re toasting it for breakfast, it can be toasted without defrosting.
Notes
As with any yeast bread, the amount of flour can fluctuate a bit depending on a number of factors, go by the look of the dough. This dough is fairly sticky, but should clear the sides of the bowl and hold its shape when enough flour has been added. I use the scoop and sweep method of measuring flour, and 3 cups has been exactly right for me for this recipe, but use your judgement. The water should feel very warm to the touch, but not hot. If you don’t have any cooked quinoa handy, more rolled oats or flax meal is a good substitute.
Recommended Products
This post contains affiliate links. As an Amazon Associate, I may receive a small commission from qualifying purchases.


Nutrition Information:
Yield:
10Serving Size:
1 pitaAmount Per Serving: Calories: 196Total Fat: 2gSaturated Fat: 0gTrans Fat: 0gUnsaturated Fat: 2gCholesterol: 0mgSodium: 323mgCarbohydrates: 37gFiber: 3gSugar: 0gProtein: 6g
Nutrition Information is estimated based on ingredients used and may not be exact.
Kathy @ Beyond the Chicken Coop
Tuesday 3rd of March 2015
These are so cute...and yummy...and healthy! Great idea!
stacey
Wednesday 4th of March 2015
Thanks Kathy! They were pretty fun to make!
Medha @ Whisk & Shout
Tuesday 3rd of March 2015
Love these! Perfectly sized and so yum :)
stacey
Wednesday 4th of March 2015
Thanks Medha!
Justine | Cooking and Beer
Tuesday 3rd of March 2015
LOVE LOVE LOVE that you made these from scratch! Pinning immediately!
stacey
Tuesday 3rd of March 2015
Thanks so much Justine! :)
Kelly - Life Made Sweeter
Tuesday 3rd of March 2015
Homemade pitas are such a great idea! I love the cooked quinoa in here! I can't wait to try this recipe!
stacey
Tuesday 3rd of March 2015
Thanks Kelly!
Cyndi - My Kitchen Craze
Tuesday 3rd of March 2015
These are adorable and your a genius! What a terrific idea! Love and pinned!!
stacey
Tuesday 3rd of March 2015
Haha, I don't know about genius, but thanks Cyndi! :) Thanks for pinning!