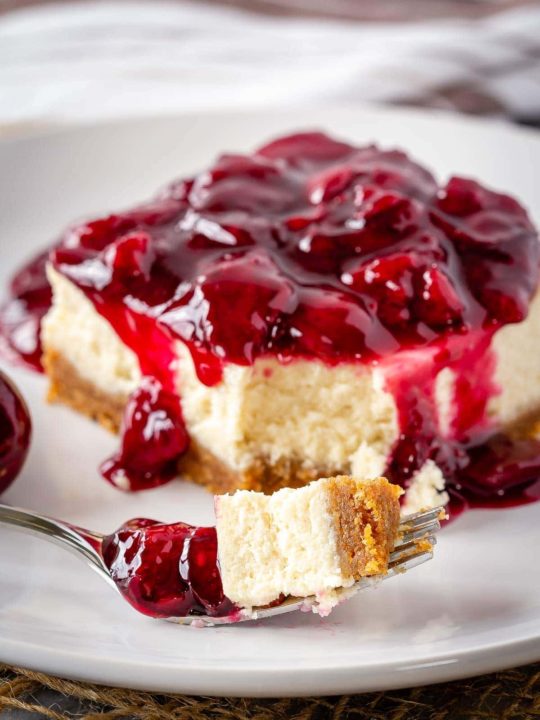

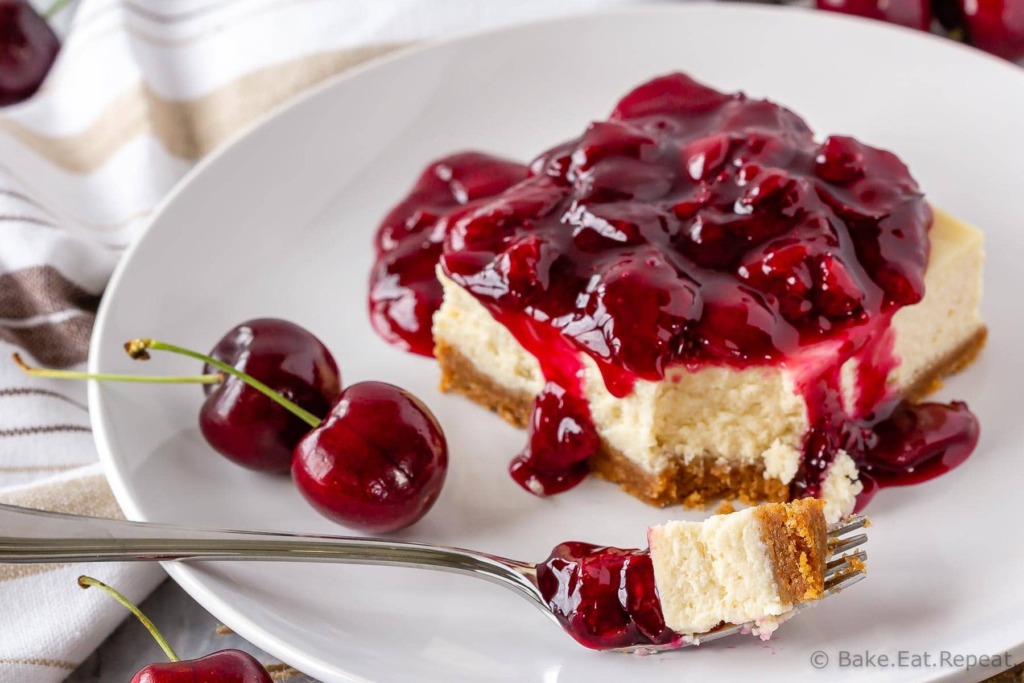
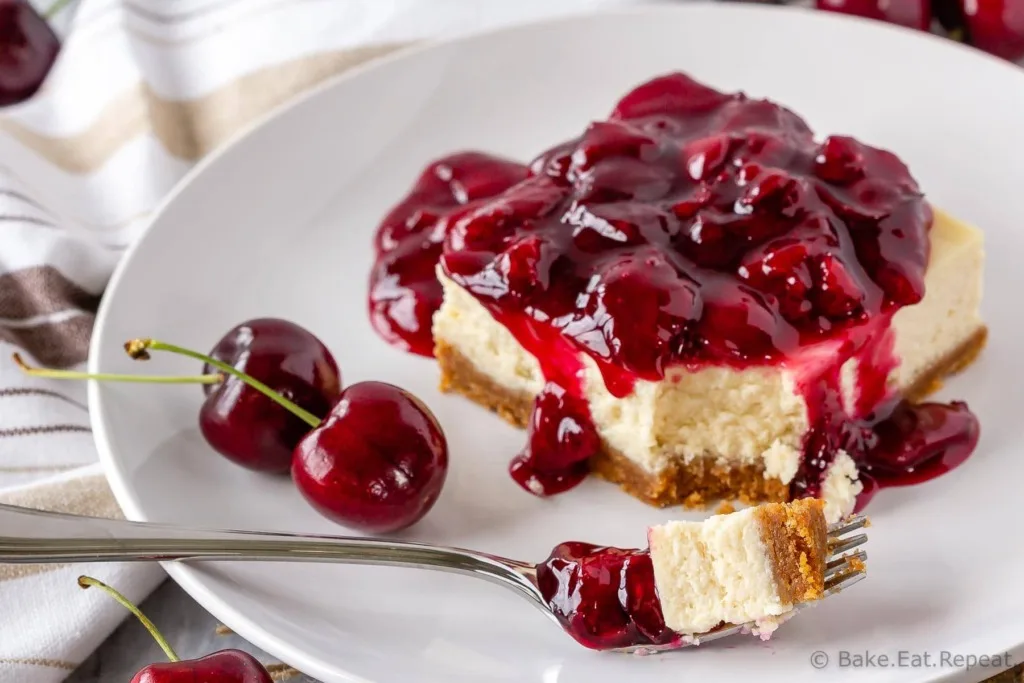
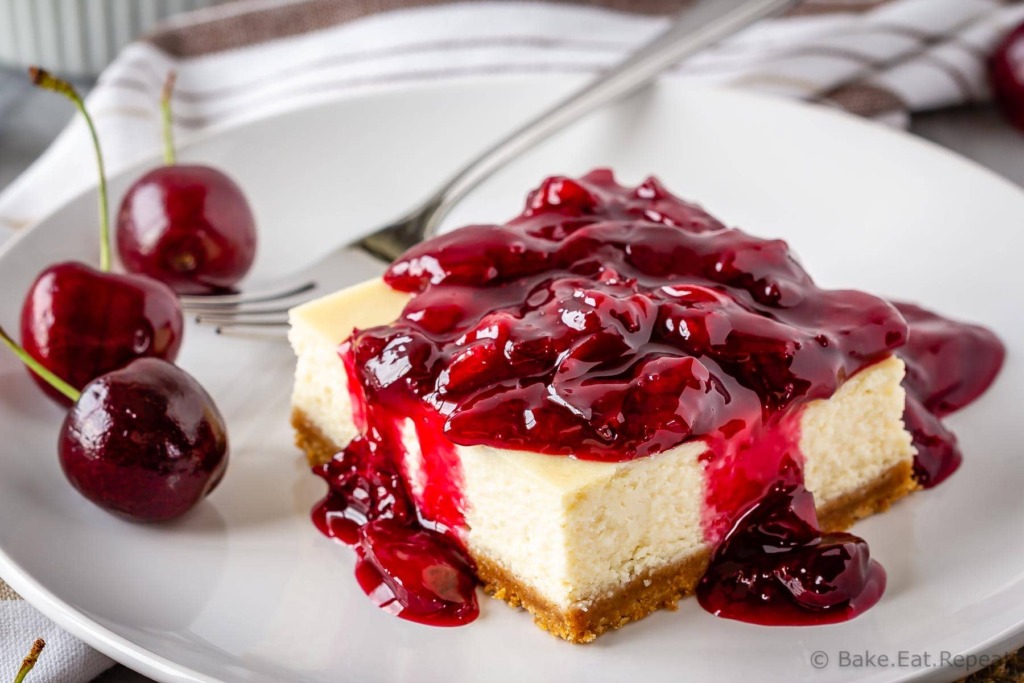
These easy cherry cheesecake bars make the perfect summer dessert – decadent cheesecake topped with a fresh cherry sauce!
Is there a better dessert then cherry cheesecake? Cheesecake and fresh cherry sauce just go together.
Now I will admit that I have always bought cherry pie filling in the canned format. But it kind of bothers me every time I do it because I know that homemade would most definitely be better.
Homemade with fresh fruit is always better. I just didn’t have the patience to remove the pits from the cherries – such a big, messy pain. The canned pie filling tastes pretty good and is so much easier.

So no judging here if you would rather make the cheesecake bars and pick up a can of pie filling to go with it. It’ll still be a pretty fantastic dessert!
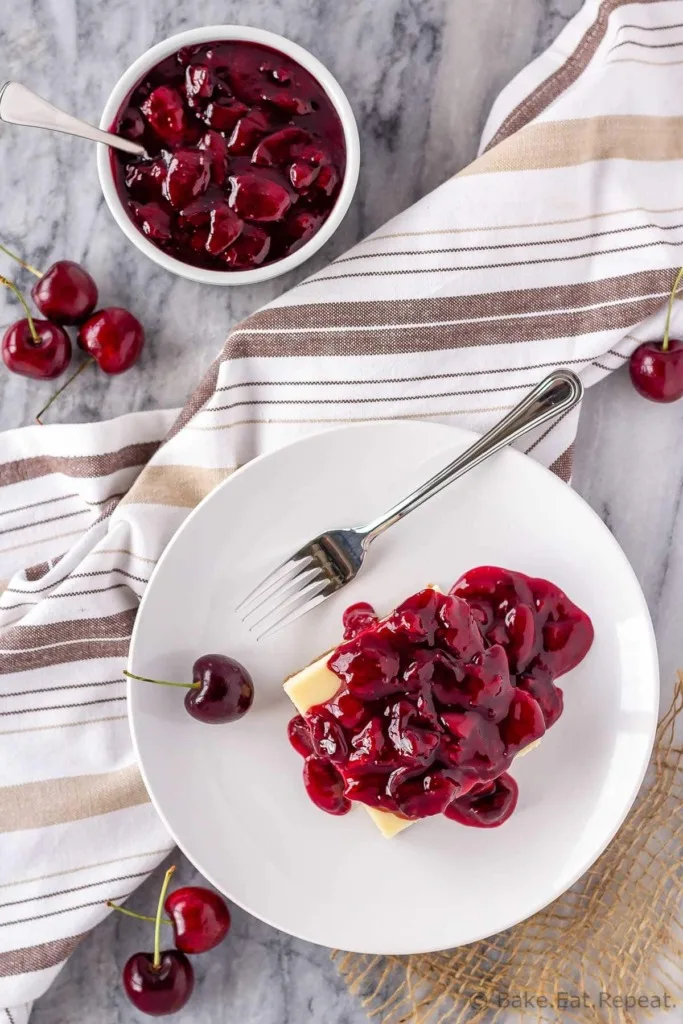
But. I will say that this cherry sauce made from fresh cherries is the absolute best cherry sauce I’ve ever had. It beats the canned pie filling hands down – and it’s actually really easy to make.

I even got over my annoyance with removing the cherry pits because I finally bought a cherry pitter, it actually worked really well (I was surprised, I have to say), and my 7 year old was quite excited about it and wanted to pit all the cherries for me so I didn’t even have to do any of it.
And fresh, homemade cherry sauce served over these cheesecake bars is absolutely fantastic. You should probably make these ASAP.

How to make Cherry Cheesecake Bars:
- I bought this cherry pitter and it works very well, although a friend of mine has one that does a bunch of cherries at a time and it works really well (looks like this one – no idea if that’s the exact brand she has though) so I may have to get one of those once my cherry tree starts producing more than a couple handfuls of cherries a year!
- Don’t over-bake your cheesecake – when the edges are starting to brown and the centre no longer wobbles it’s done. Make sure to cool it completely and then chill it for at least two hours before slicing and serving it.
- The cherry sauce can be made up ahead of time and kept in the refrigerator until you’re ready to serve.
Here are a few more great dessert recipes for you:
Cherry Cheesecake Bars
These easy cherry cheesecake bars make the perfect summer dessert - decadent cheesecake topped with a fresh cherry sauce!
Ingredients
For the crust:
- 1 cup graham cracker crumbs
- 2 tablespoons granulated sugar
- 1/4 cup melted butter
For the cheesecake:
- 16 ounces (500g) cream cheese, softened
- 1/4 cup plain Greek yogurt or sour cream
- 1/2 cup granulated sugar
- 2 large eggs
- 2 teaspoon vanilla
For the topping:
- 2 1/2 cups (about 1 pound) pitted sweet cherries, quartered
- 1 tablespoon lemon juice
- 1 1/2 tablespoons corn starch
- 1/2 cup granulated sugar
Instructions
- Preheat the oven to 325 degrees F.
- Line an 8x8 inch baking pan with aluminum foil, leaving an overhang, and lightly spray it with non-stick cooking spray.
- In a small bowl, stir together the graham cracker crumbs, sugar and melted butter for the crust until well combined.
- Press it into the bottom of the prepared baking pan in an even layer.
- In a medium bowl, beat the cream cheese, yogurt and granulated sugar until smooth and well combined.
- Add the eggs and vanilla and beat again until smooth.
- Pour the cheesecake batter on top of the crust and smooth the top.
- Bake for 35-40 minutes until the edges are starting to brown and the centre is just set.
- Let cool completely then refrigerate for at least 2 hours before slicing and serving.
- Prepare the cherry topping by combining the cherries, lemon juice, corn starch and sugar in a medium saucepan over medium heat.
- Cook, stirring constantly, until the cherries have broken down and thickened, about 5 minutes.
- Let cool and refrigerate until ready to serve.
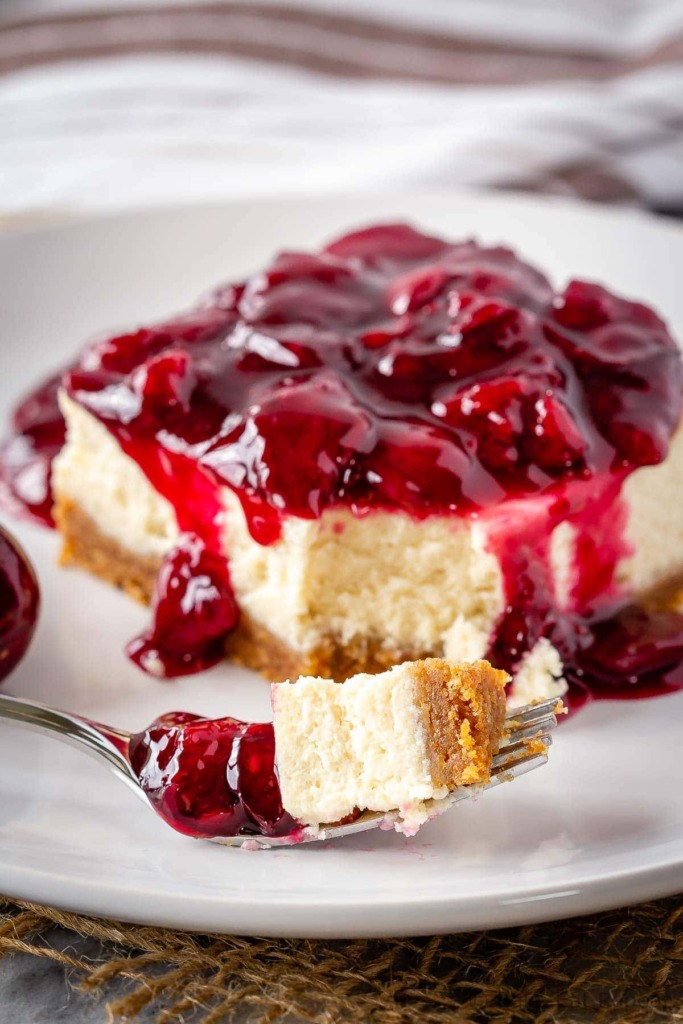
- Slice the cheesecake into bars and serve with the cherry topping.
Notes
Source: Adapted from Food Network.
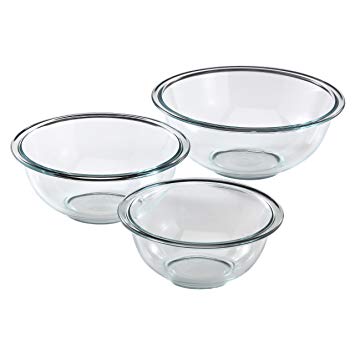
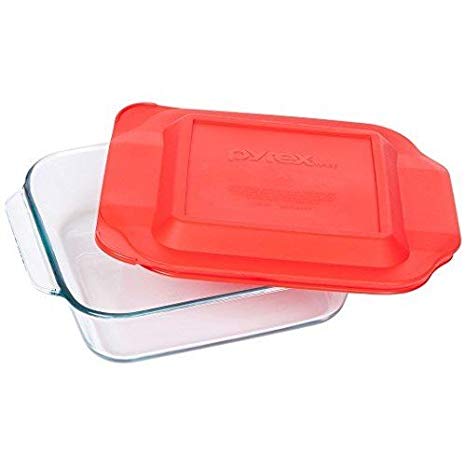
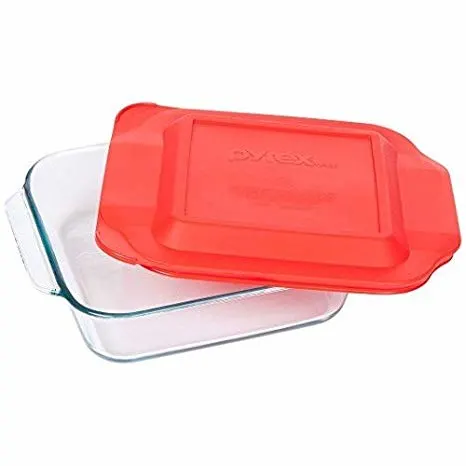
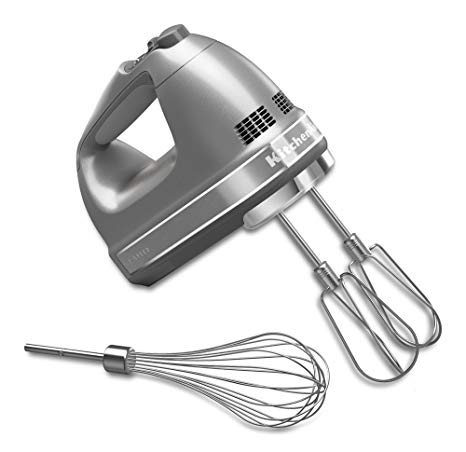
Recommended Products
This post contains affiliate links. As an Amazon Associate, I may receive a small commission from qualifying purchases.


Nutrition Information:
Yield:
12Serving Size:
1 barAmount Per Serving: Calories: 292Total Fat: 19gSaturated Fat: 11gTrans Fat: 0gUnsaturated Fat: 6gCholesterol: 80mgSodium: 196mgCarbohydrates: 28gFiber: 0gSugar: 22gProtein: 4g
Nutrition Information is estimated based on ingredients used and may not be exact.
Catherine
Thursday 21st of March 2024
The multiple cherry pitter is OXO. It's FANTASTIC!!!
Sadie
Tuesday 9th of August 2022
Can I make this recipe in a springform pan?
Stacey
Monday 15th of August 2022
I haven't tried it, but I think an 8 or 9" springform pan would work just as well.
mimi rippee
Friday 10th of August 2018
This is really lovely. I remember the first time I bought canned cherries, this was almost 40 years ago, and I was so grossed out! So I'm really glad your sauce is based on fresh cherries. There's nothing better!
Joyce
Saturday 4th of August 2018
Need to reply to your cherry pitter (or stoner as correctly called). Do not covet that other one. I checked it out. More hands on, setting them straight, whoops one moved, darn, it broke. I assume you have the surgical steel one. I love it. It works fast and seldom does the cherry turn on you for a whoops.
Stacey
Wednesday 8th of August 2018
Haha, good to know! The one I got does work well, and wasn't too messy so that was nice!